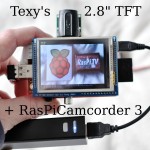
At the end of August, I bought one of Texy’s 2.8 inch 320×240 touch-screens to have a play with. I thought it’d be great if I could somehow get it working with my RasPiCamcorder. Although, at the time, you had to jump through quite a few hoops to get the drivers working, and nobody had yet done the necessary work to enable camera output to be displayed on it.
Texy 2.8 inch 320×240 TFT for the Raspberry Pi
Then I got busy with KickStarter and HDMIPi and it lay untouched until December. I periodically looked in on the camera section of the Raspberry Pi Forums to see if anyone had used it with the camera yet. But it wasn’t for another few weeks that I had the opportunity to have a play.
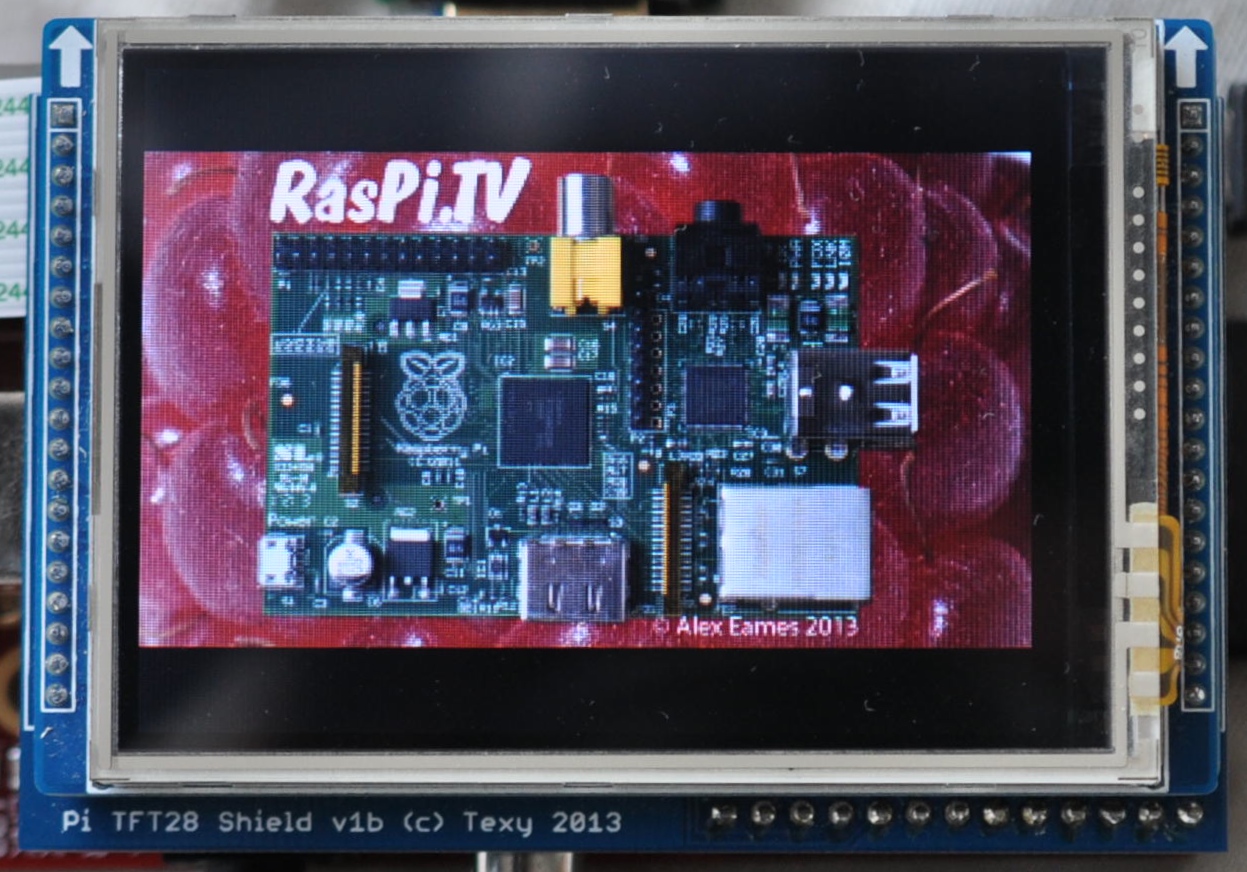
So, just before Christmas, I followed these setup instructions, on a fresh Raspbian install (Sept 2013) which worked exactly as they should, first time. (Love it when that happens.)

Texy Screen showing command line console
This got me up and running with the screen, but…
What about the camera bit?
The best way, currently, to get the realtime camera output on this screen is to use a neat little program called fbcp – (framebuffer copy). You can download a working (binary) version of that from here. Or you can compile your own from source at github https://github.com/tasanakorn/rpi-fbcp
This copies the camera output to fb1 (which is the name of the framebuffer that Texy’s screen is using).
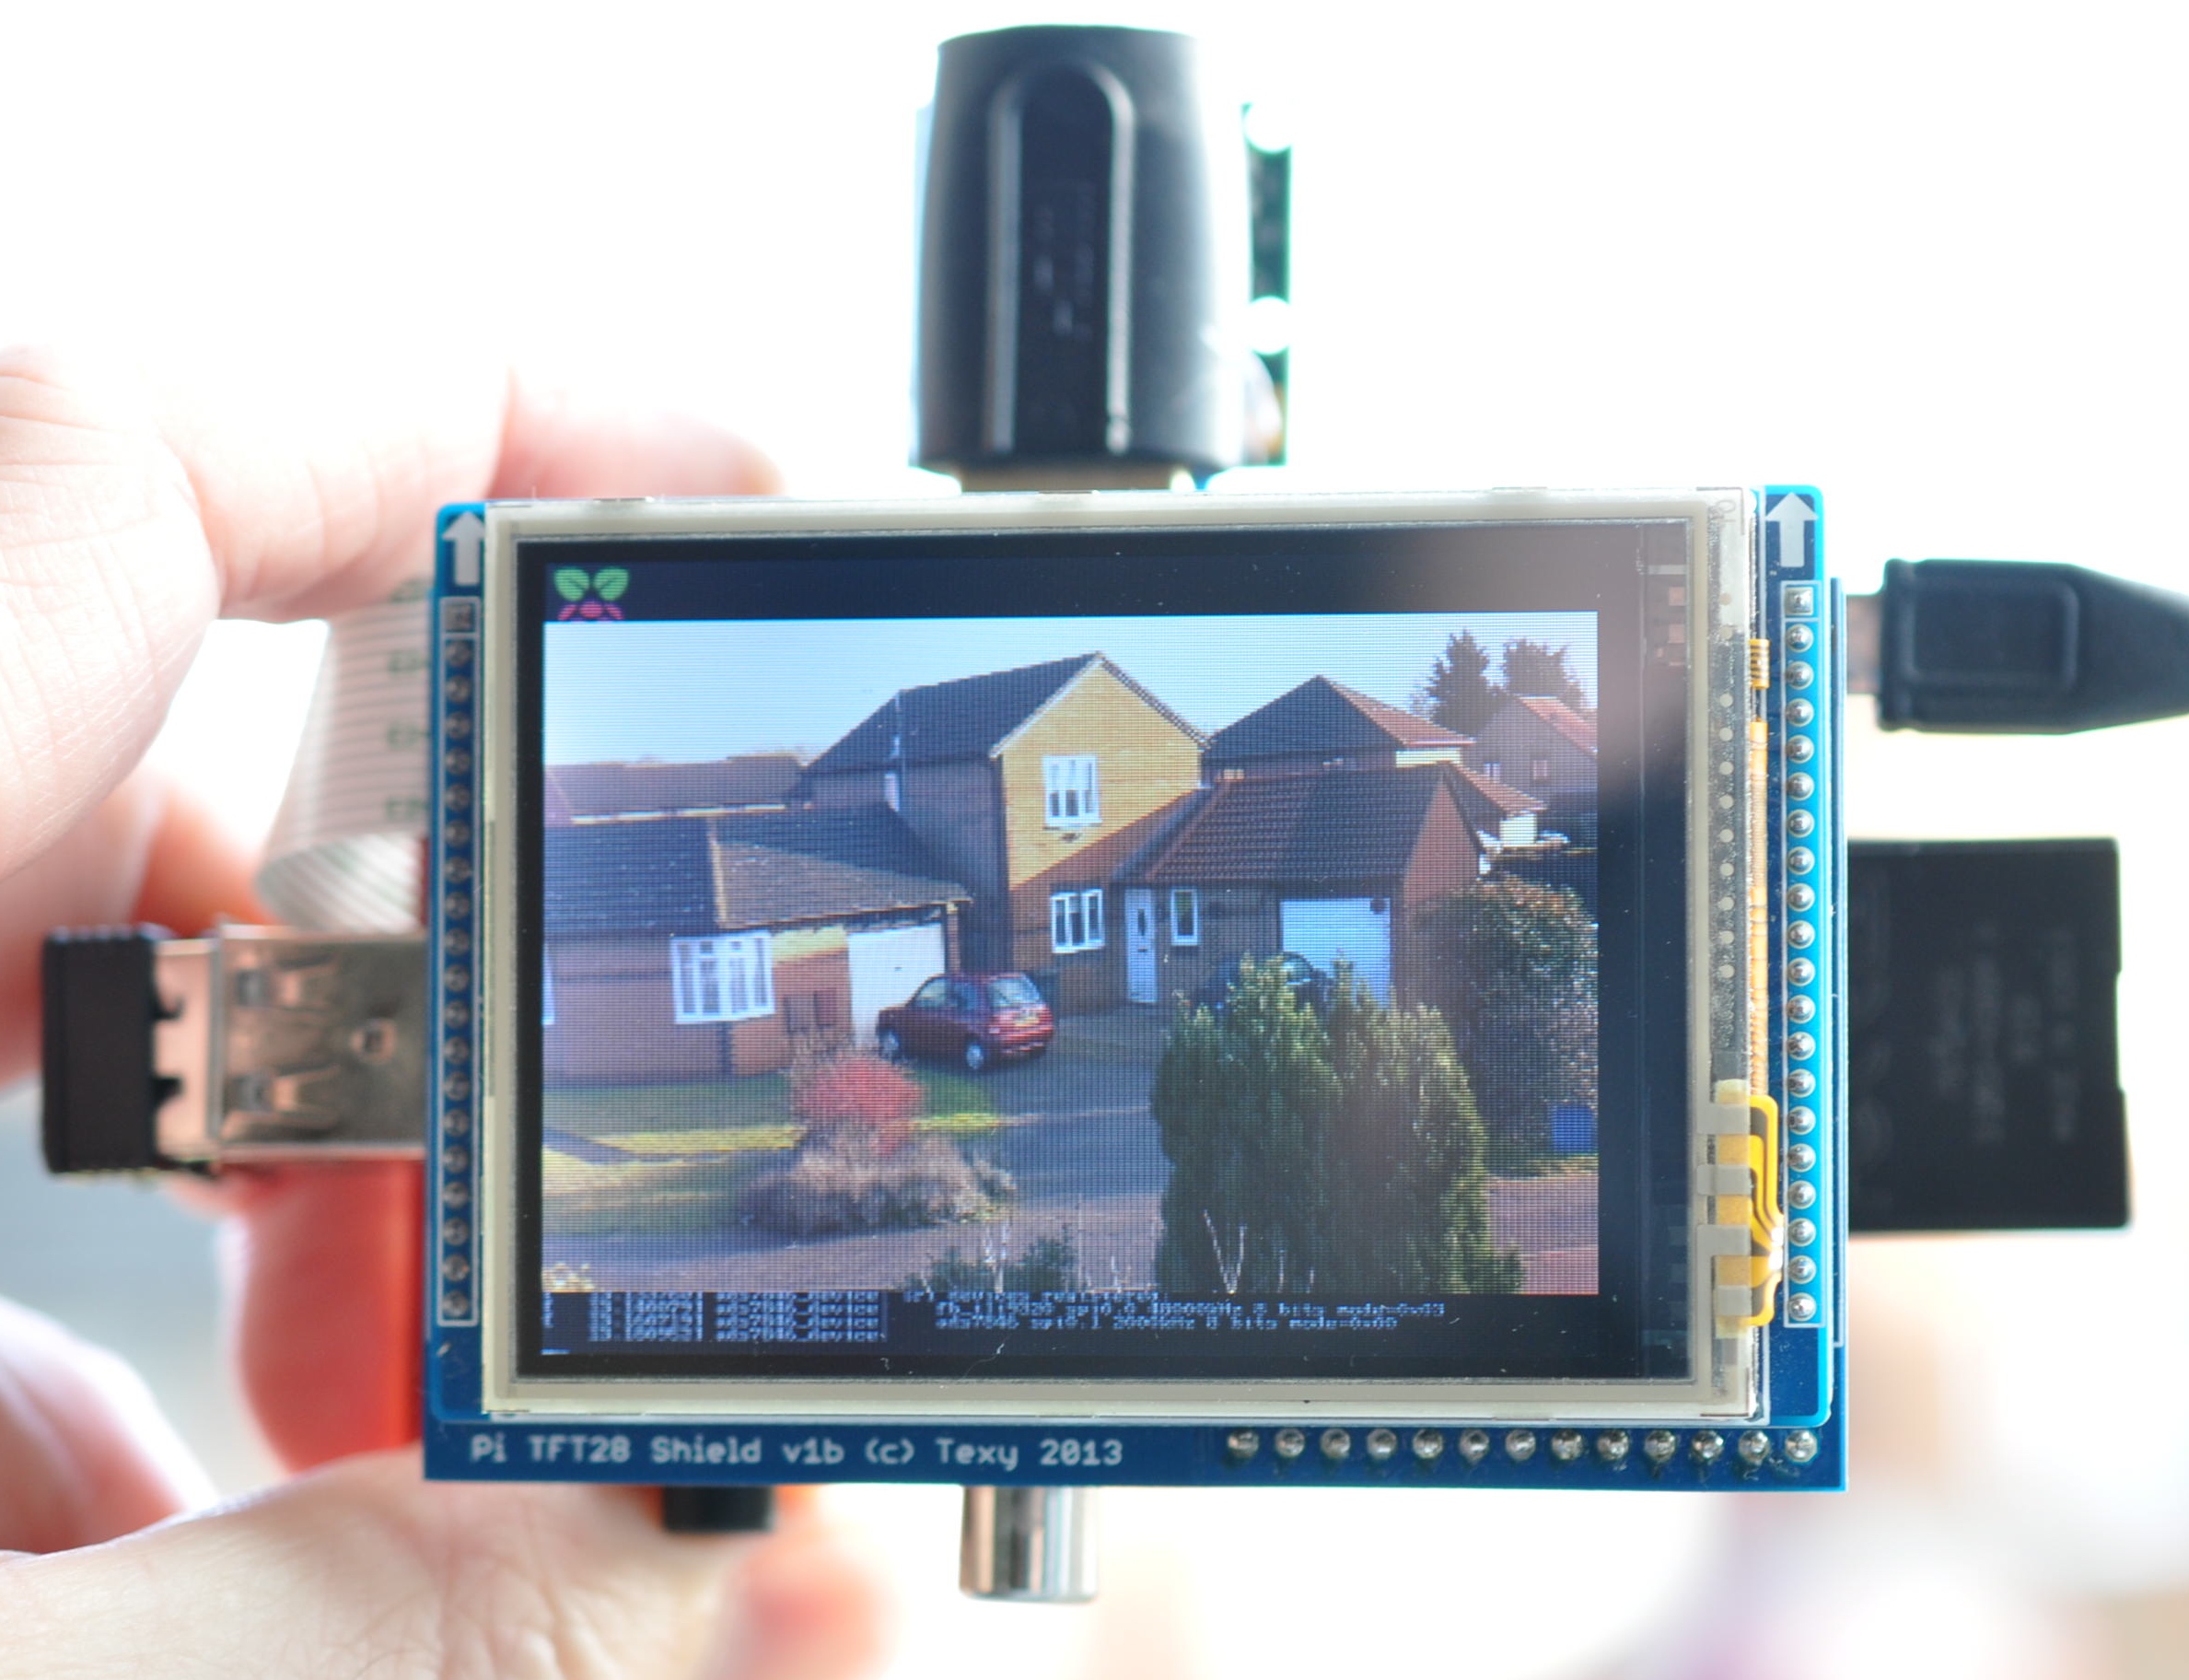
Texy screen displaying live output video on RasPiCamcorder 3
How to run fbcp
It needs to be run in the background…
./home/pi/fbcp &
…to be useful, but the camera also needs to be controlled programmatically or you’ll never see what you’re typing on the screen. So the simplest way to do this is with a little bash script like this…
Using the Pi camera with the Texy screen
/home/pi/fbcp &      # & runs fbcp in the background
raspivid -t 30000    # display video camera output for 30s
After 30 seconds of displaying the camera output on screen, to get your screen back to console, kill the fbcp process with…
pkill fbcp
You won’t be able to see what you’re typing but it doesn’t matter. Once you <Enter> this command, you’ll get your console back. But a nicer way to do it would be to kill the fbcp process, as soon as it’s no longer needed, directly in the bash script, like this…
/home/pi/fbcp &
raspivid -t 30000
pkill fbcp
This should mean you get your console back straight after the camera stops.
Watching a video using omxplayer
This is very similar to using the camera. You need a little script to call fbcp, run omxplayer, then cancel fbcp and give you your console back.
/home/pi/fbcp &           # runs fbcp in the background
omxplayer "filename.mp4"  # play filename.mp4 in omxplayer
pkill fbcp
You can force the audio output to the Pi headphone jack with -o local, as in …
omxplayer -o local "filename.mp4"
…but you may not need to if you have no HDMI screen attached. (Mine defaults to analog if no HDMI attached.)
Using the GUI
While this is technically possible, it’s not all that useful (apart from specialist uses) because of the low screen resolution.
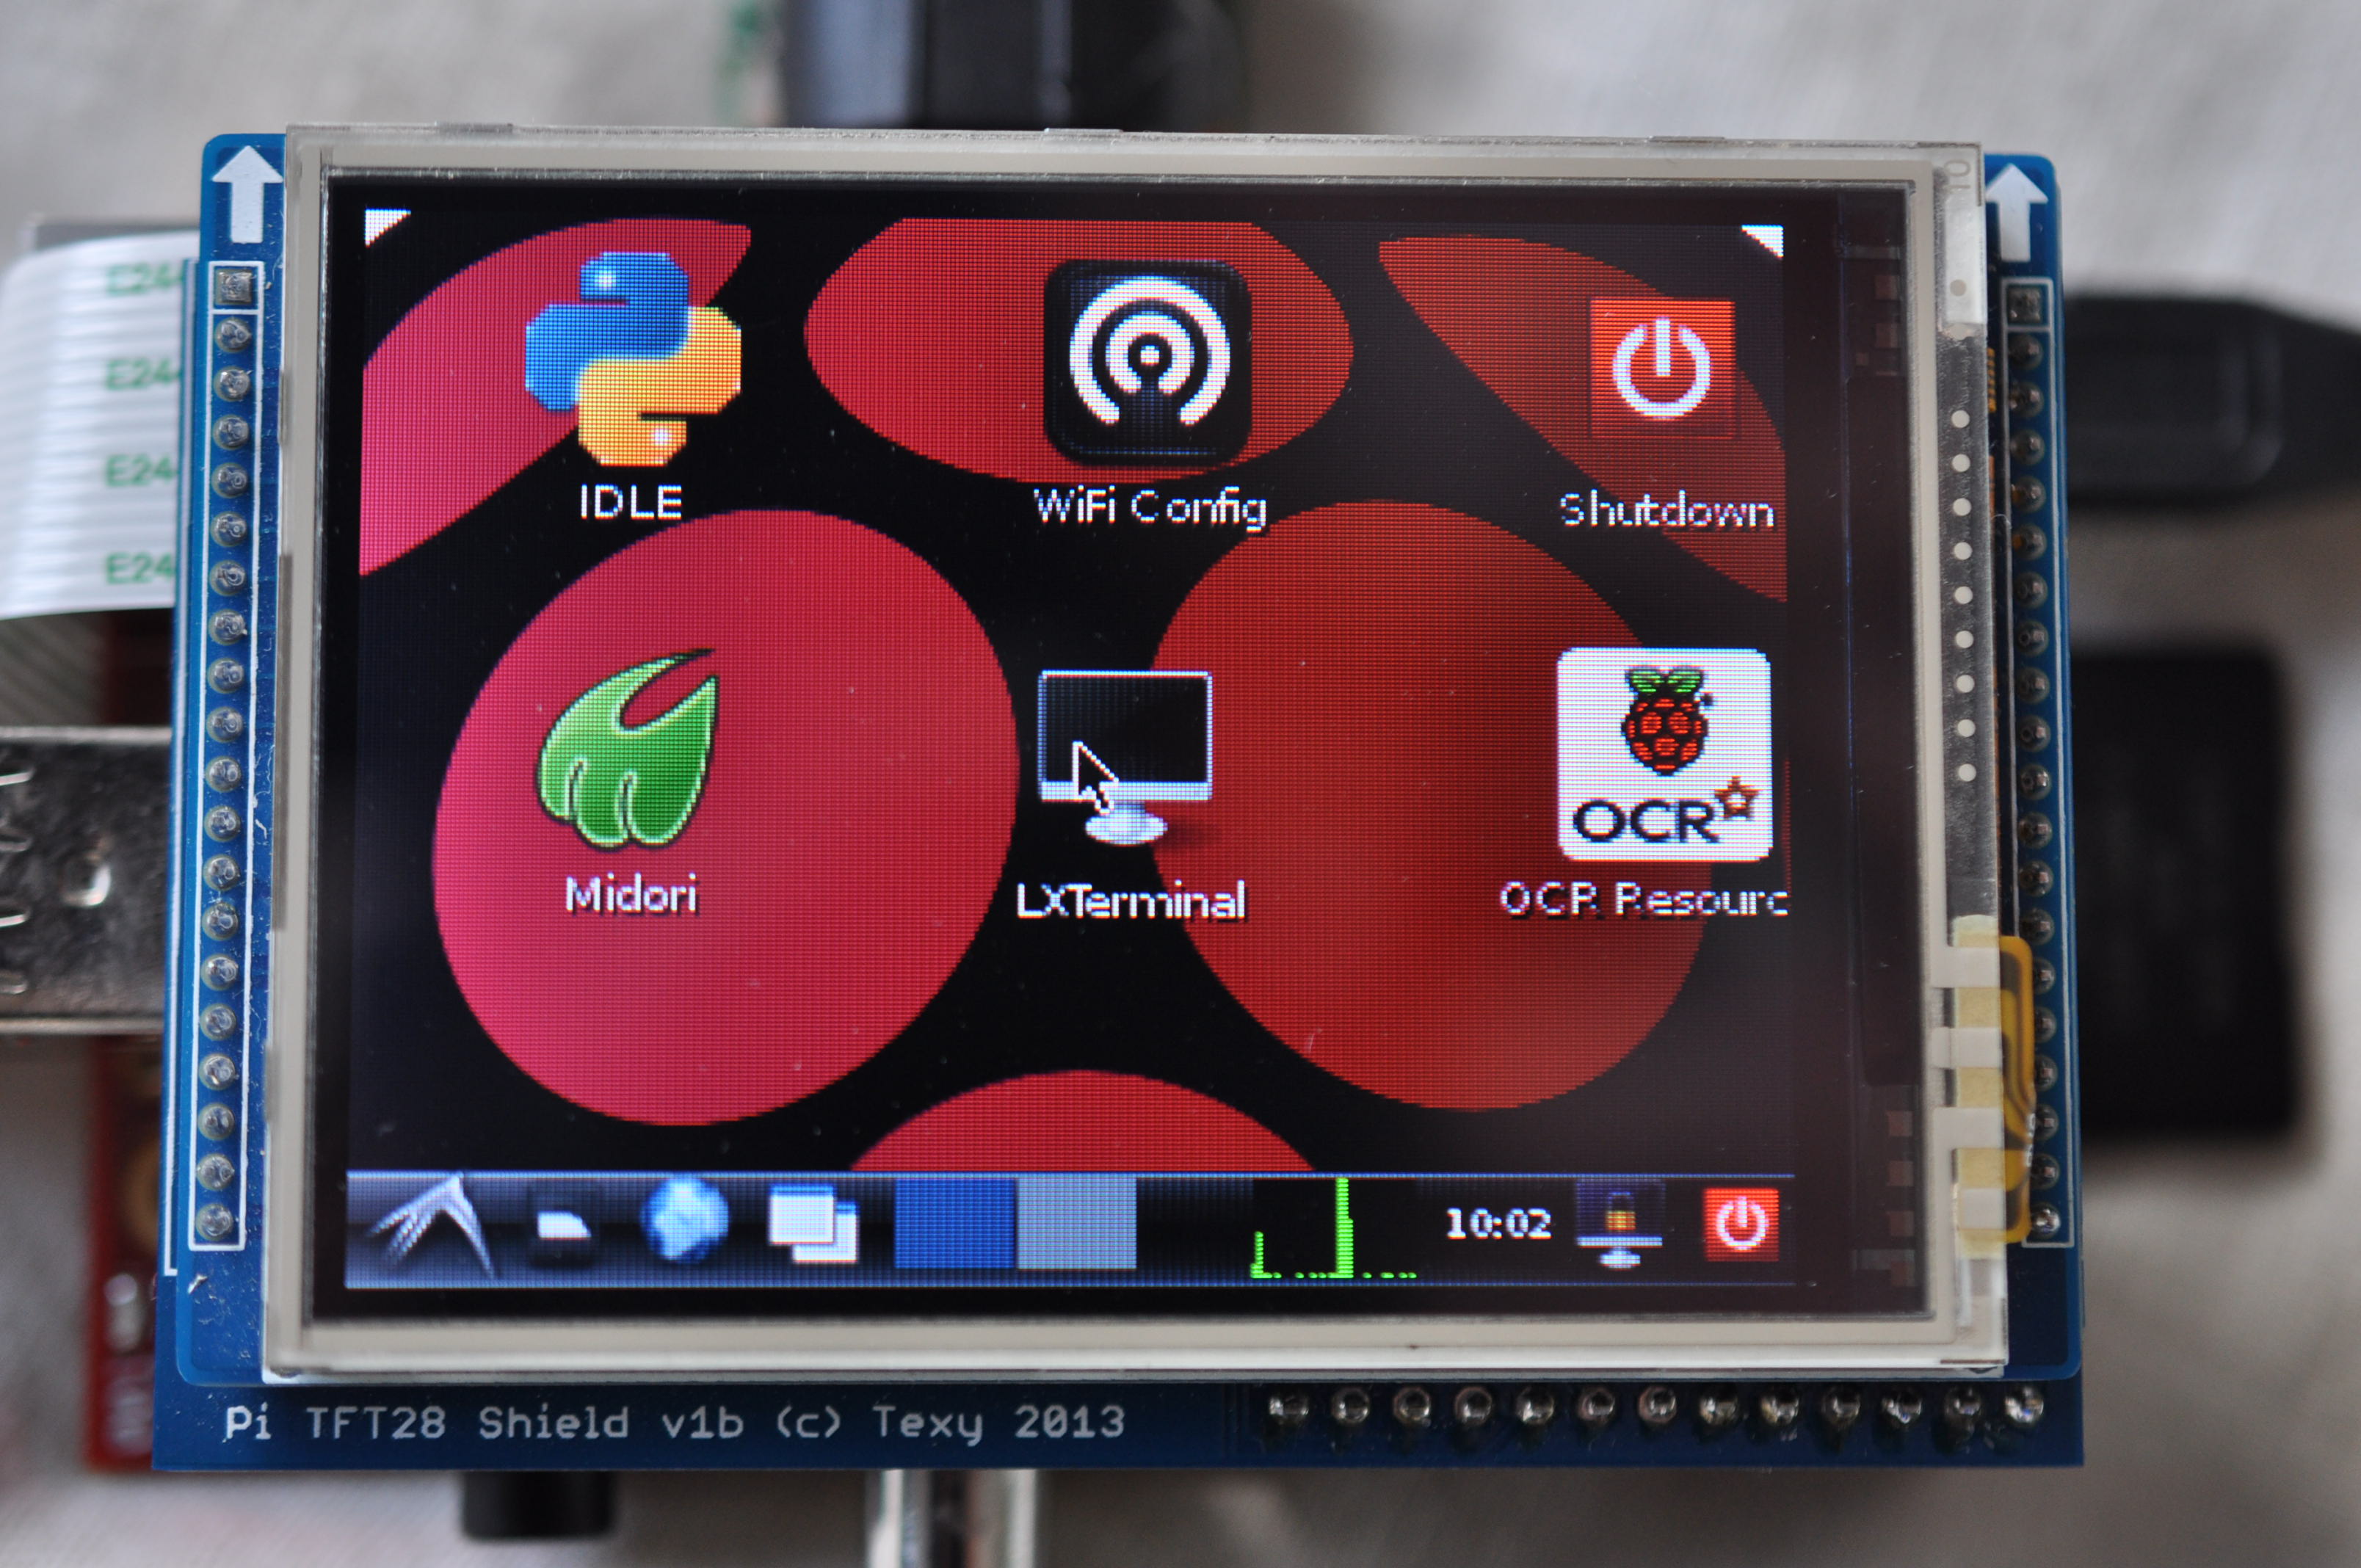
Texy screen with LXDE GUI
It could be very useful though, if you had a GUI that was designed to fit this size of screen 320×240 (e.g. some sort of custom software).
To run LXDE use…
FRAMEBUFFER=/dev/fb1 startx -- -dpi 60
If you want to configure wifi, you’ll need to set this up in the GUI with another screen before you start to load the modules automatically at boot. (The dialog boxes for wifi control are too large for this screen.)
Also, be aware that if you automatically load the screen driving modules at boot, you won’t have console access on the HDMI output, just on the Texy screen. You can still ssh in if you have wifi or ethernet connected though, or login by Bluetooth if you have the adaptor.
Can I use GPIO Ports?
Yes, you can…
Screen and TP use hardware SPI ( SLCK, MOSI, MISO, CE0 & CE1 ) plus 3 additional GPIO lines ( GPIO17, GPIO18 & GPIO25 ), keeping the other GPIO lines free for other uses – the pcb has a ‘breakout’ GPIO port to connect too.
That leaves GPIOs 24, 23, 22, 21, 4, (and UART, which I’m using for Bluetooth serial adaptor) and if you need more, the i2c ports and/or the four extra ports on P5

RasPiCamcorder 3 camera mount hack
Innovative camera mount hack
Looking for a way to mount the camera, I came up with this idea…
This is an HDMI to mini HDMI adaptor. It enables the camera to slot into the HDMI port on the Pi, but you can also connect a mini-HDMI to HDMI cable if you want HDMI output as well, so it doesn’t block the port. The camera is attached to the adaptor with a couple of blobs of hot glue.
Bluetooth serial adaptor – causes a bit of interference
True to form, my RasPiCamcorders always have Bluetooth.
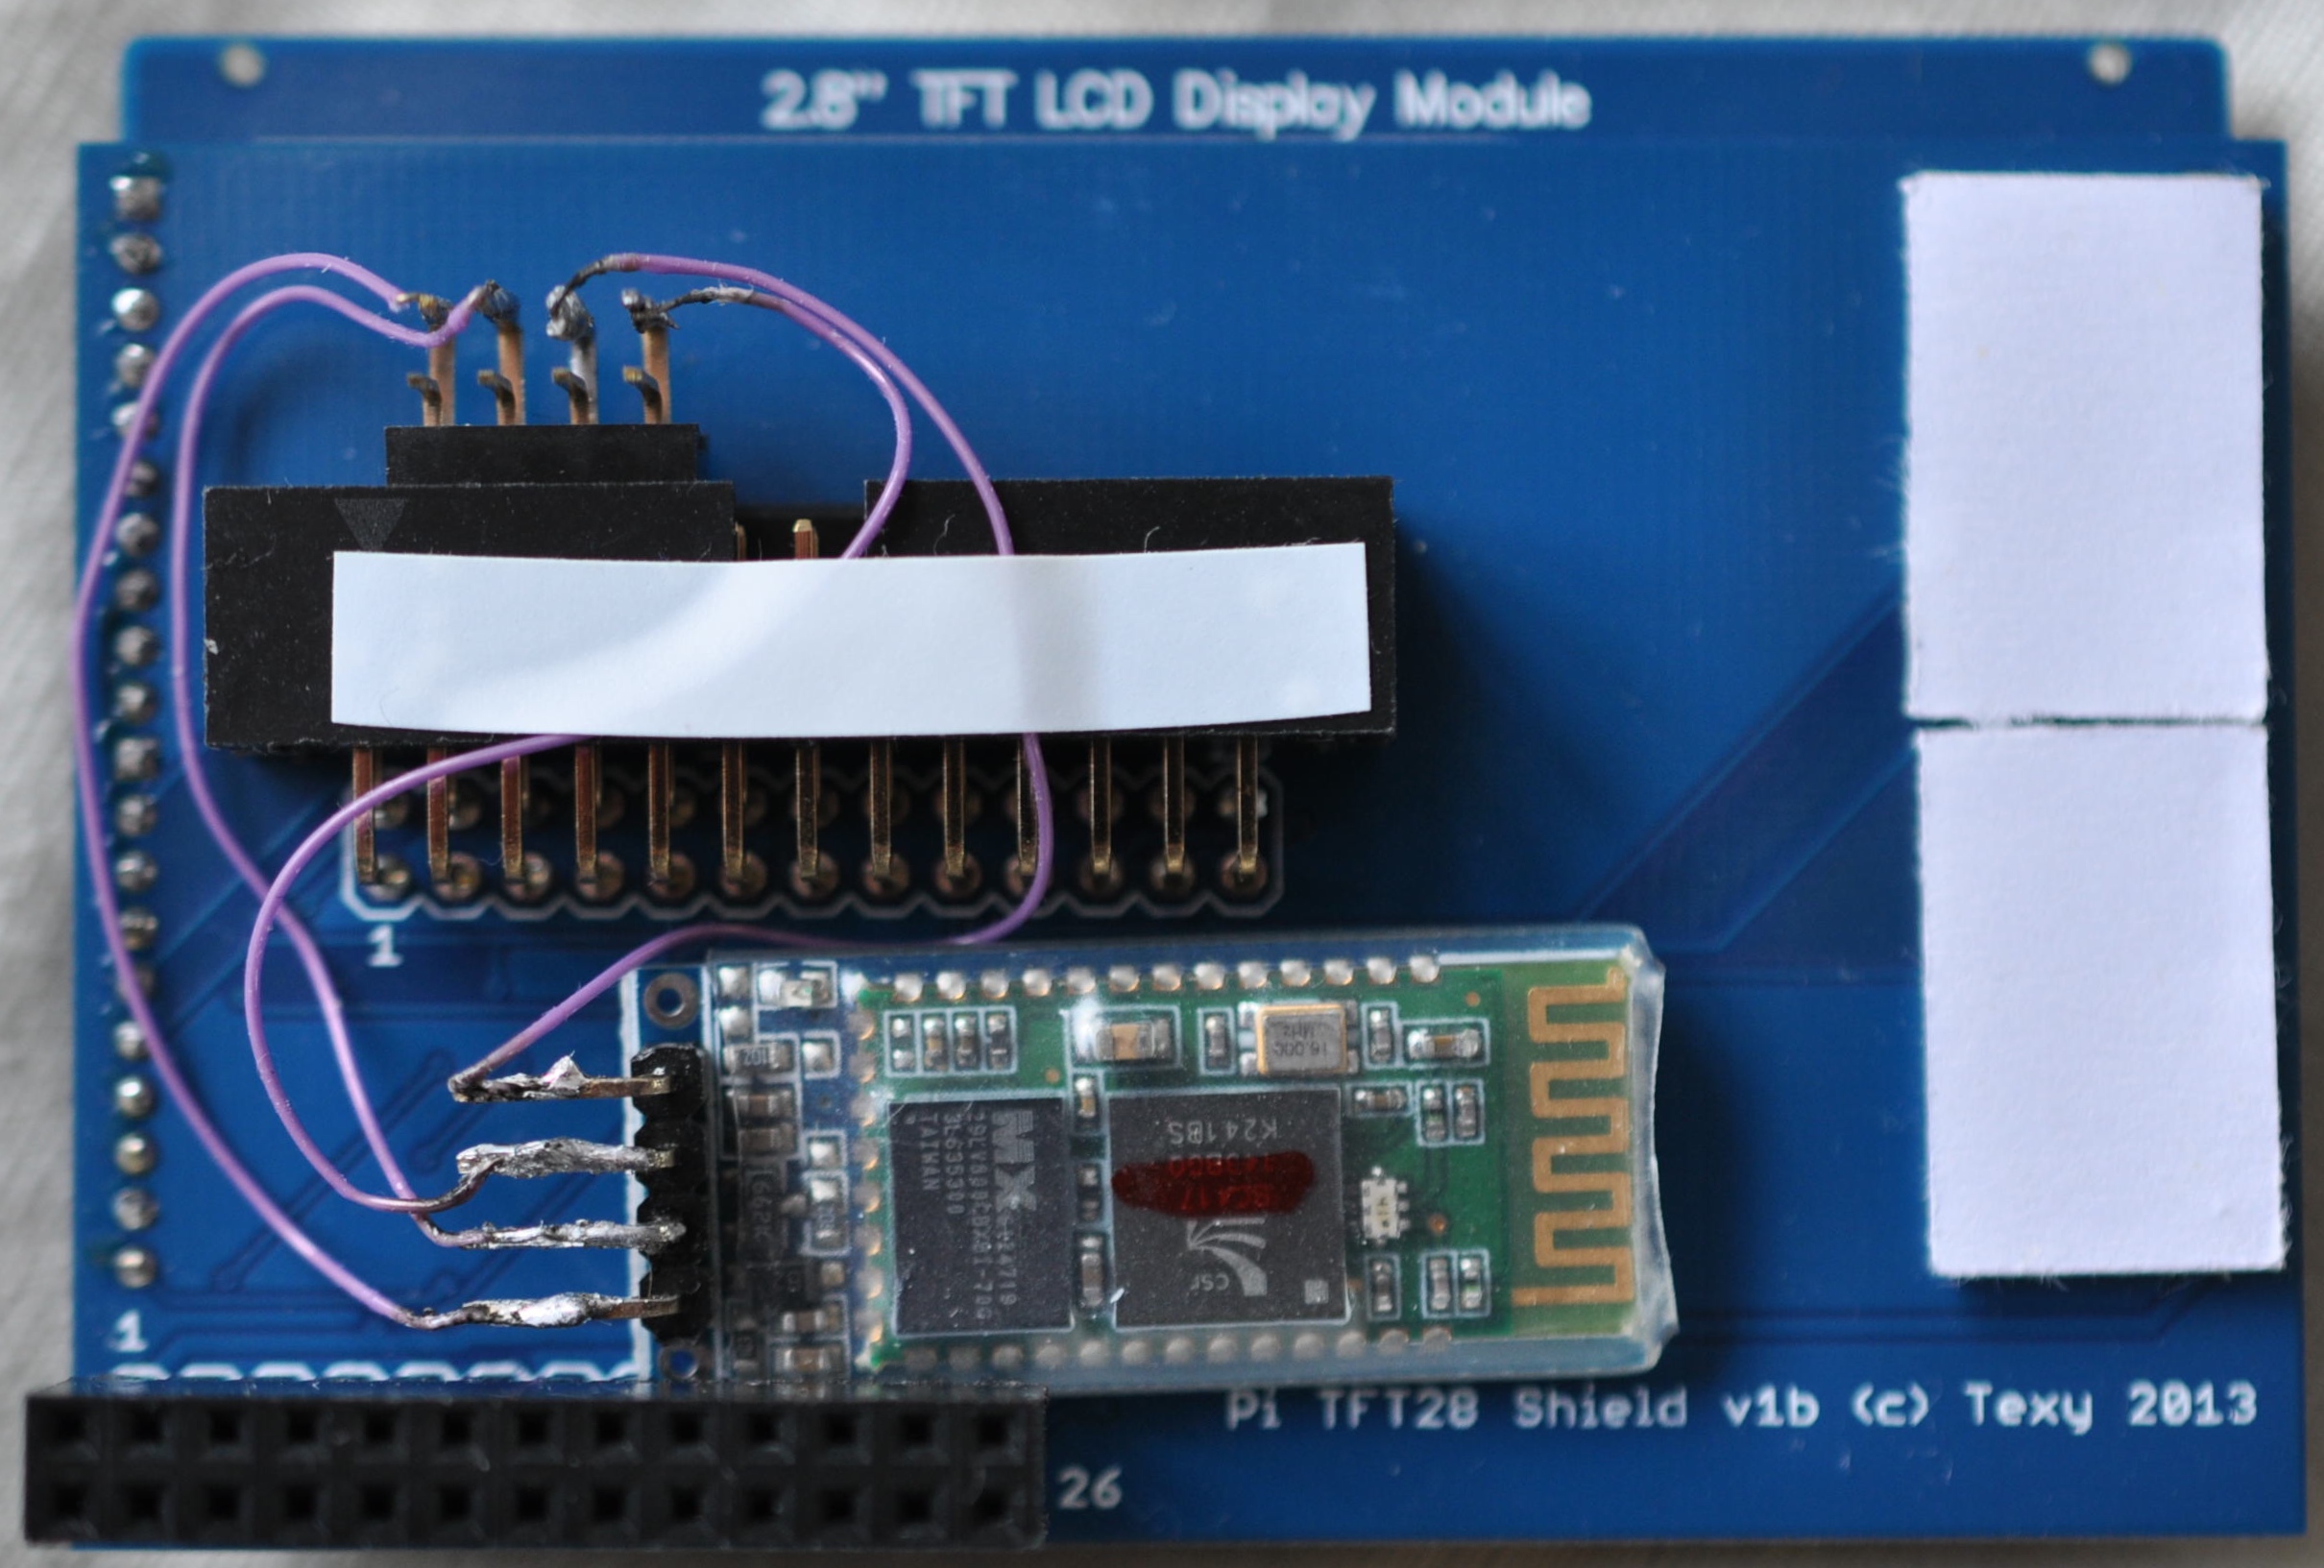
Bluetooth serial adaptor
I’m using the same sort of Bluetooth serial adaptor as in RasPiCamcorders 1 & 2. It’s currently sitting directly under the screen, which causes a bit of interference when it’s not paired. But, once paired, it settles down. Ideally it would be placed further from the screen.
Wifi
Edimax wifi dongle as usual, for live streaming and Dropbox upload.
Wireless kbd/mouse
If you want to use the direct console login, you can hook up a (small) wireless keyboard and/or mouse as well.

RasPiCamcorder 3 with keyboard
Next steps
So at last we have a small screen that’s able to display real-time video output from the RasPiCamcorder. This at least enables you to make sure you’re aiming the camera properly.
But, although I’m a step closer to a more useful RasPiCamcorder, there’s still work to be done to integrate this screen into the current setup…
- Hook up some buttons and an led
- Modify the RasPiCamcorder software
- Work out some sort of case for it
- Ultimately, perhaps make a touch-controlled GUI for it (but I don’t know if I’ll have time for that, since I know nothing about it)
It looks like I might not have to do much with the touch side of things since Adafruit just launched what looks like a very similar product, along with a nice camera interface and tutorial to go with it.
I’m without video editing facilities at the moment. I’ll get some video made when I can get the hardware and software sorted out.
Hi, i want to setup a camcorder but i want to ask you this, what is the maximum duration you recorded with raspicam? can i record for 2 or 3 hours ? thank you very much.
I haven’t, but as far as I know, the limitation is the size/speed of your storage.
You could always tailor the resolution settings to not exceed the available storage.
(Battery life is the other possibly limiting factor if you’re going fully portable).
Hi Alex,
I’m trying to find a a way to stream video from my usb webcam to Adafruit’s version of the TFT screen. I’m using mjpg-streamer and across the network I can get very fluid streams with minimal latency but what I’d really like is to have this directly output to the TFTscreen.
If I use the TFT screen to open a browser in the GUI and navigate to the webpage with the streamed images, the latency is +10 seconds. I was hoping that since the images don’t have to travel over the network, they would be very fast but perhaps the Pi’s hardware is what’s holding this back.
Do you have any suggestions as to how I might speed this up. If I can use the USB camera that would be cool but would buy the RPi camera module if that’s the only way it would work.
Thanks,
Chris
Hi , Thanks for the info.
Basically i have a python program to preview and a button icon to capture.
Please can you let me know if there is an option where when i press preview UI, the ./fbcp &
gets triggered through python program and i get a preview .
Thanks in advance