How to set up i²c in Raspbian on the Raspberry Pi
First we need to update our package lists.
sudo apt-get update
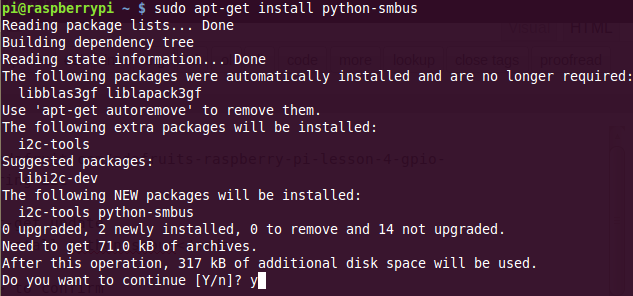
Then we install smbus
sudo apt-get install python-smbus
y to confirmThis installed i2c-tools as well, which we’ll use a little later to locate i2c devices on the system.
How to Enable i2c in Raspbian
Then we need to make a tweak to a couple of configuration file to enable i2c in raspbian.
To enable i2c in raspbian…
sudo nano /etc/modprobe.d/raspi-blacklist.conf
…and comment out line 3 (the one with i2c in) by inserting a # at the start of the line…
ctrl+o save
<ENTER> confirm filename
ctrl+x exit
Then…
sudo nano /etc/modules
you need to add…
i2c-dev on the last line
ctrl+o save
<ENTER> confirm filename
ctrl+x exit
Now we need to reboot to activate the new settings. You could do any necessary wiring while the Pi is powered down. (Do disconnect the power after shutting down) :)
sudo reboot to reboot, or sudo halt to shut down.


[…] Make sure that you have the I2C drivers enabled on your SD card. If not, follow this post by Raspi.TV […]
For the benefit of any future readers – I believe (at least part of) these instructions will no longer work properly with latest versions of Raspbian, as they now use a DeviceTree kernel by default.
Happily, I2C can be enabled / disabled using raspi-config