Most of my recent posts have been focussed around the Gertboard. Not surprisingly, since not many are out there yet. Now that Farnell Element 14 has started shipping (I got mine today), we should expect to see a proliferation of info about clever things people have done with theirs.
One thing Gertboard has done for me though, is kindled an interest in interfacing. Previously I posted about temperature sensors and logging. Since developing the temperature data logging capability, I now want to keep that going, but still be able to mess around with the Gertboard. So it was time to take the plunge and do it without the Gertboard.
Logging without Gertboard
This required a rather different approach, but in some ways it’s simpler. Previously I was using the Atmega processor to read the temperature sensors and send data through the serial peripheral interface (spi bus). [By the way – don’t worry if you don’t know any of these terms – I’m only just learning the language myself.] :) Then using a python script to read and display the data and send it off to COSM for logging.
To be able do this without the Gertboard, we need an analog to digital converter, a way of connecting it to the Pi and a python script to calculate, interpret and display the results for us. Enter, stage left the Pi Cobbler from Adafruit…
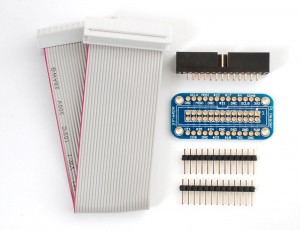
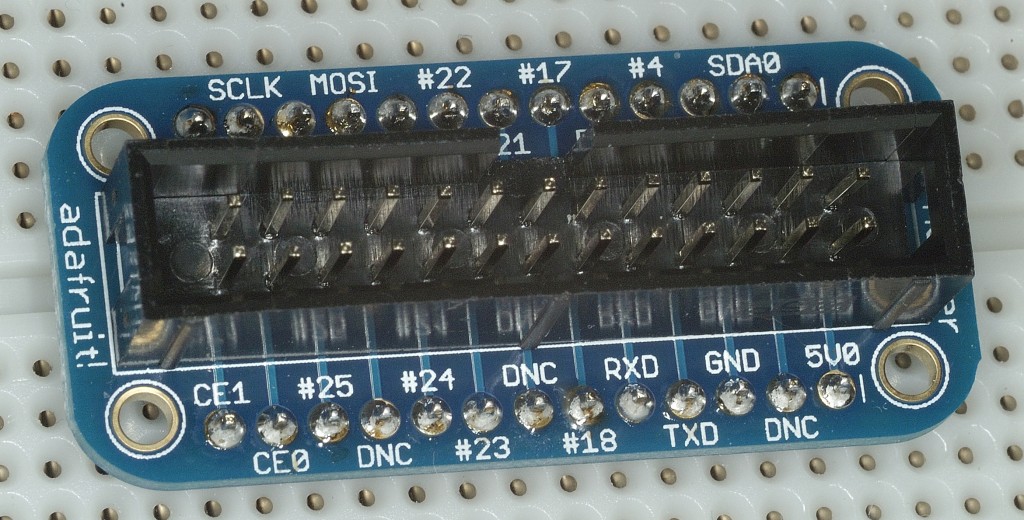
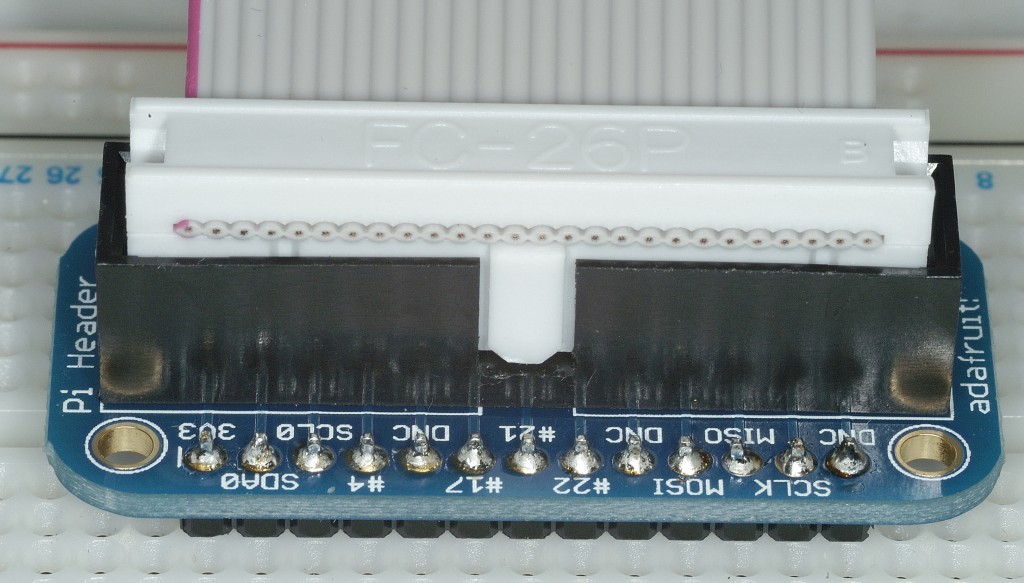
I bought mine from SK Pang in the UK for about the same pound equivalent as Adafruit sell it for in dollars (~7). You get a nice little printed circuit board (PCB) with labels for all the port names on it, a 26 pin socket, a 26 pin ribbon cable, and a strip of header pins. Important to note there is a difference between the cable for the Cobbler and the ribbon cable on the Gertboard. The Cobbler uses a “straight” cable, whereas the Gertboard uses one with one connector “the other way round”. This means they are not interchangeable.
You need to solder it together yourself. Mine took about ten minutes to do. I had a fair bit of practise when building the Gertboard, so it went quite well. :)
After soldering, I used a multimeter to check that there was continuity between each pin on the 26 pin socket and its corresponding header pin on the board. All OK. Grins all round. :)
Why I chose the Cobbler
One of the reasons I chose the Cobbler (and Limor, aka LadyAda knows this – it’s the not so secret, secret of Adafruit’s success) was because on the Adafruit website it shows you exactly how to connect it up and gives you working examples of scripts that you can use to achieve a particular purpose. Then you can modify them and make them suit your exact requirements. In so doing, you learn how to do things.
In this case, I unashamedly followed their procedure (it’s how you learn) from this page
I want more resolution
Then – the key point – I made it my own. I tweaked it. I decided that I wanted better resolution from the 10 bit analog to digital converter. Using the full scale of 3.3V, it was giving a resolution of about 0.3 degrees. So that means it could only show differences in temperature of 0.3 degrees. I thought it would be nice if it could show me 0.1 degree differences – after all I did study Analytical Chemistry a million years ago. I want more precision! ;)
So now it was time to switch on extra power to my brain. I looked at the numbers and realised that if the 1024 “bits” of resolution were spread over a narrower range, I might be able to get my goal of 0.1 degree resolution. But how? Ahaaaaaaaa. “I need to tweak the reference voltage on the ADC – that’s what decides the full scale range.”
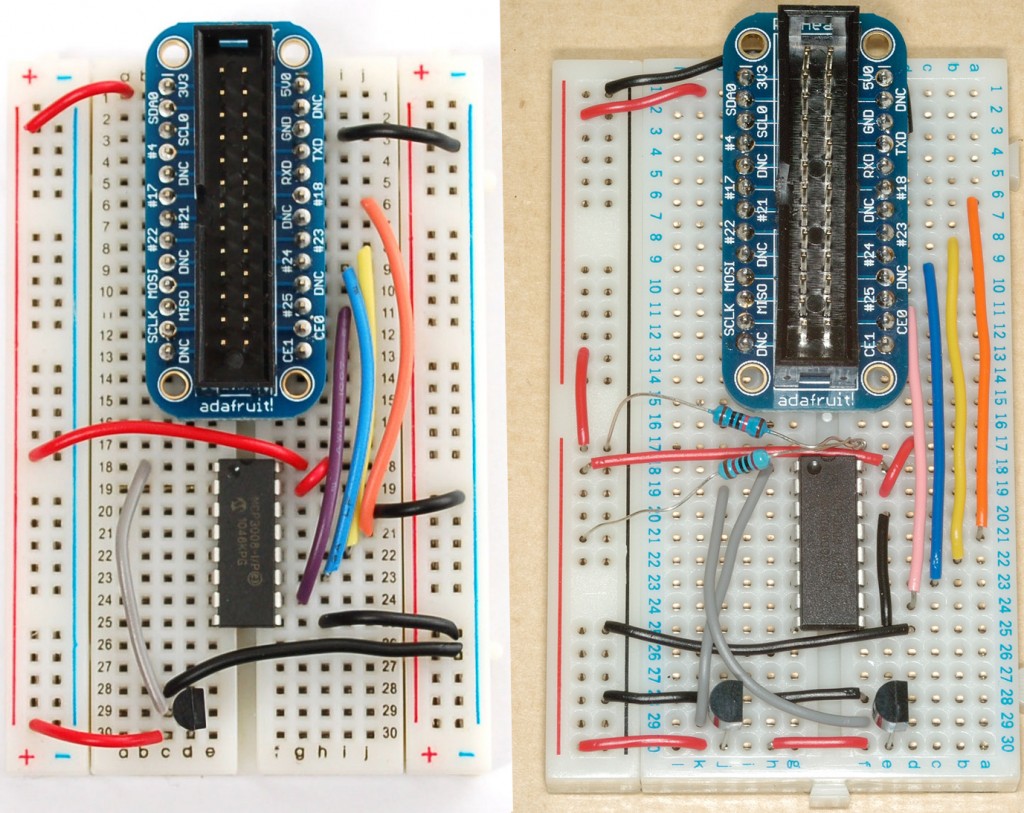
So that’s why you can see two extra resistors in my photo that aren’t there on the Adafruit one. (They are done in a very quick and dirty way and I can assure you they’ll be tidied up ASAP. Best not leave large areas of bare metal sticking out or you increase the chances of short-circuiting something.) I’ve tweaked the reference voltage down from 3.3 volts to 1.03 volts using a 20 kOhm and a 10 kOhm resistor to make a voltage divider. So now I can get 0.1 degree resolution. The only downside to this is that I have reduced the usable range of the sensors (and the full scale range of the ADC). Now I can only read temperatures of up to 50 degrees C instead of 150 C.
For my application, room temperature and outside temperature, that’s no real loss. How often does room temperature go anywhere near 50 C, let alone 150? :) But more importantly than that, I used my brain! I did something that wasn’t in the instructions. I took it further! I developed it! I’m living on the edge ;) OK. I’m exaggerating, but I did get a bit of a buzz out of it.
The other difference between mine and theirs is that I’ve put a second sensor in and tweaked the script to read from two channels. This ADC has eight channels, so I will be adding more sensors in due course (bearing in mind the “new” voltage range).
I want my breadboard back
Now I’ve calibrated two new sensors (I adjust them in software to read the same as a known thermometer) I’ll be looking to take this design off the breadboard and put it on perfboard or stripboard for a permanent installation. I want my breadboard back! I’ve only got two breadboards at the moment and I need to play. :)
Next blog will be…
I’ve just accidentally kicked my network cable and the naked Pi flew off the desk and landed on the SD card. This Pi is usually cased. I only took it out of the case for interfacing. :( So my next blog will detail how to fix a broken SD card slot. :(


Fab review :-) Will be reblogging later once I’ve finished migrating over to self-hosted WordPress.
As for the SD card slot… I feel your pain, I really do :-(
I’ve fixed it and written the blog already Mike, but I’m not going to knock this one off the top for a couple of days as I only wrote and published it today. :) I think the card might be damaged, but the Pi seems to work OK with another one.
[…] as I was finishing up my last blog post, the review of Adafruit Pi Cobbler, my foot snagged on a network cable and hoiked my Pi onto the floor. It landed on the SD card and […]
[…] my breadboards. I got my semi-permanent temperature sensing interface fully up and running with the Pi Cobbler – logging to […]
[…] on how to get better resolution from the MCP3008 by changing the analog reference voltage, from RasPi.tv: One of the reasons I chose the Cobbler (and Limor, aka LadyAda knows this – it’s the not […]
[…] since getting the LCD working and temperature and light level logging using COSM and the Pi Cobbler, I’ve wanted to compact all of this onto a single add-on […]
Anyone wanting to adapt this for a MCP3002 two channel ADC, I found a link here with some tweaks to the bitbang script. It didn’t work straight out of the box, but by incorporating the tweaks into my script, I made it work OK. Might be worth a look :)
http://dmt195.wordpress.com/2012/09/26/mcp3002-example-code-for-raspberry-pi-adc-through-spi/