I recently bought a laser cutter (running on a Pi) and started working with acrylic (Perspex). I’ve sawn, routed and drilled Perspex before. It machines beautifully as long as you’re not too ‘greedy’ with your cuts (and if you’re too greedy, it cracks). In exploring the material, I wanted to investigate thread tapping as I’d heard it was possible and it opens up new design options.
So I watched a few videos about thread tapping. Some people use a CNC machine on an industrial scale, but others use a small hand tapping set in the same way you’d tap a thread in metal. Some pearls of wisdom which most of them mention are…
- Threading works best in cast acrylic rather than extruded
- Lubrication is a good idea
- Coarse thread is preferred over fine
I looked for a set of hand taps I thought I had, but I couldn’t find them. (I vaguely remember a failed experiment some 25+ years ago on a car repair – perhaps I got rid of them? Or maybe they’re just sitting in a drawer somewhere laughing at me?)
Bit Size is Key
The key to successful thread tapping, which I’d never actually achieved to-date, is to get the right size of tapping drill. This was why my experiment had failed all those years ago. I didn’t have the right bit size.
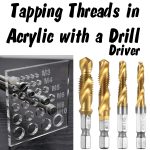
So I had a look at Amazon and ebay and something new, shiny and interesting caught my eye. Spiral tapping bits that fit in a drill/driver…
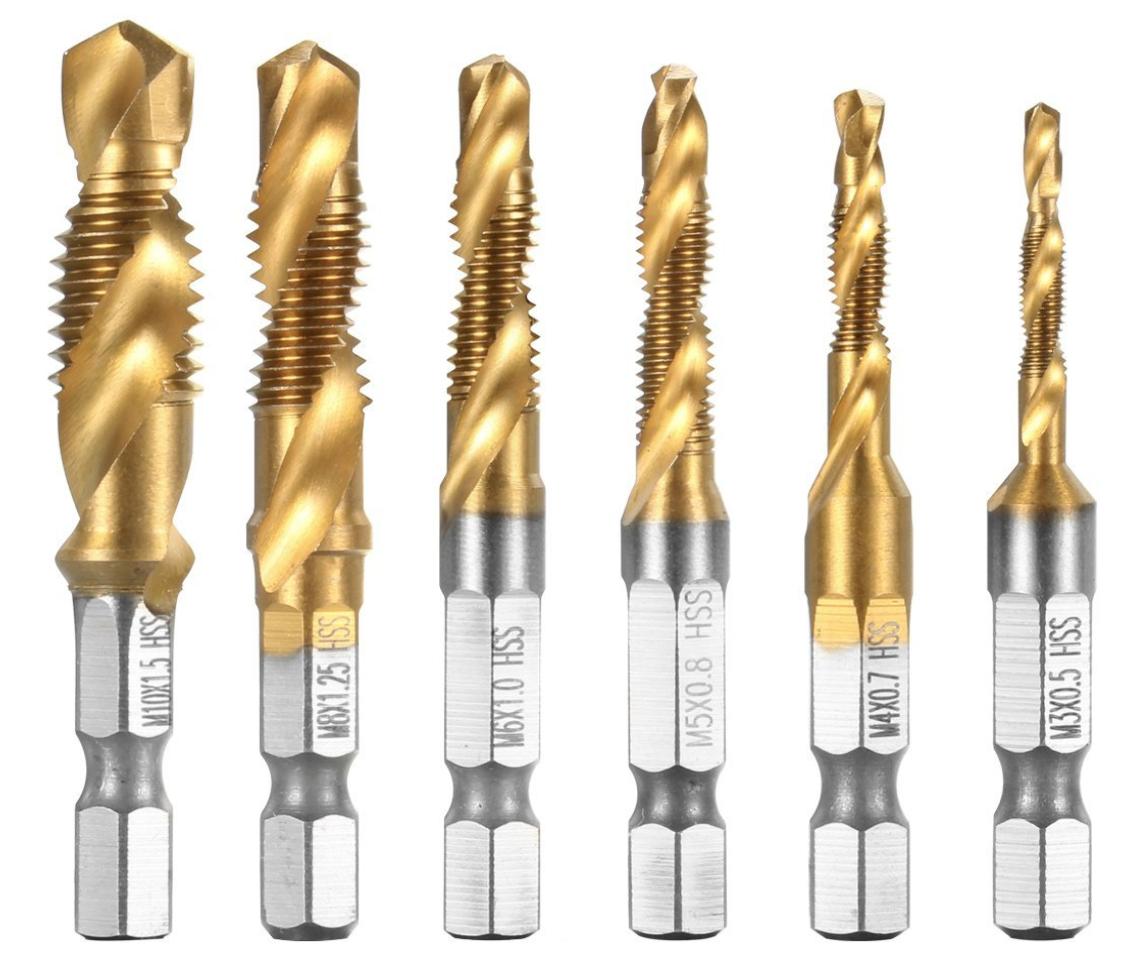
Countersink Tap Drill Bit Set
These are advertised as “HSS Countersink Tap Drill Bit Set, Combination Hex Shank Titanium Screw Thread Metric Tap Drill for Wood Plastic Aluminum Copper, NOT for Hard Metal / Iron Casting”
So the way they’re ‘billed’ is that you can drill, thread and counter-sink all in one (variable speed) operation. That sounds very attractive.
They looked interesting to me because I could easily put them in my cordless drill driver (running very slowly) and use that instead of an agonisingly tedious hand tap. Counter-sink might be useful if using thick enough acrylic and counter-sunk bolts.
There’s also a small note at the bottom of the listing that says…
“NOTICE:
☞1.Please add some oil before operate the tap, so the operation is smoother, and also to extend the life of the tap.
☞2.Application: High Speed Steel 4241 is suitable for wood, aluminum, iron and other lower hardness material, the material thickness is 3-5mm. Caution if you used it with hard metal!”
What do the Reviews Say?
As you do, I looked at the reviews before taking the plunge. On some listings, people were saying that they break. Others were saying that they’re good on soft materials. Well Perspex is pretty soft compared to steel, so I figured “six tap sizes for a tenner – let’s see how long they last – and hit the order button.”
On the reviews stating that “they broke’ it seemed like people were using them to drill their own holes before threading. To be fair, they are marketed that way, so should work that way. But since everything I’m likely to need to thread will already have been laser cut, it seems sensible to reduce the load on the tap by laser cutting the holes.
Tapping Drill Sizes
When they arrived I decided to test them all. So I looked up the tapping drill sizes needed. I wasn’t going to drill the holes – I’ve got a laser cutter – but I needed to know the size to make the holes for my test piece. Searching Google on “tapping drill sizes” sent me to a suitable page…

Tapping drill size chart
…and armed with this information I knocked up a quick design for a test piece…

Perspex thread tapping test plate
Add Lubricant
The vendor suggests adding oil before cutting a thread. In one of the reviews, someone mentioned a squirt of WD40 on the bit for lubrication. I tried this and it works a treat.
I played with a simple test-piece and the M3 bit first. The seven holes here all tapped perfectly well. You have to be somewhat careful about alignment, but the tapping itself is fairly easy to do.
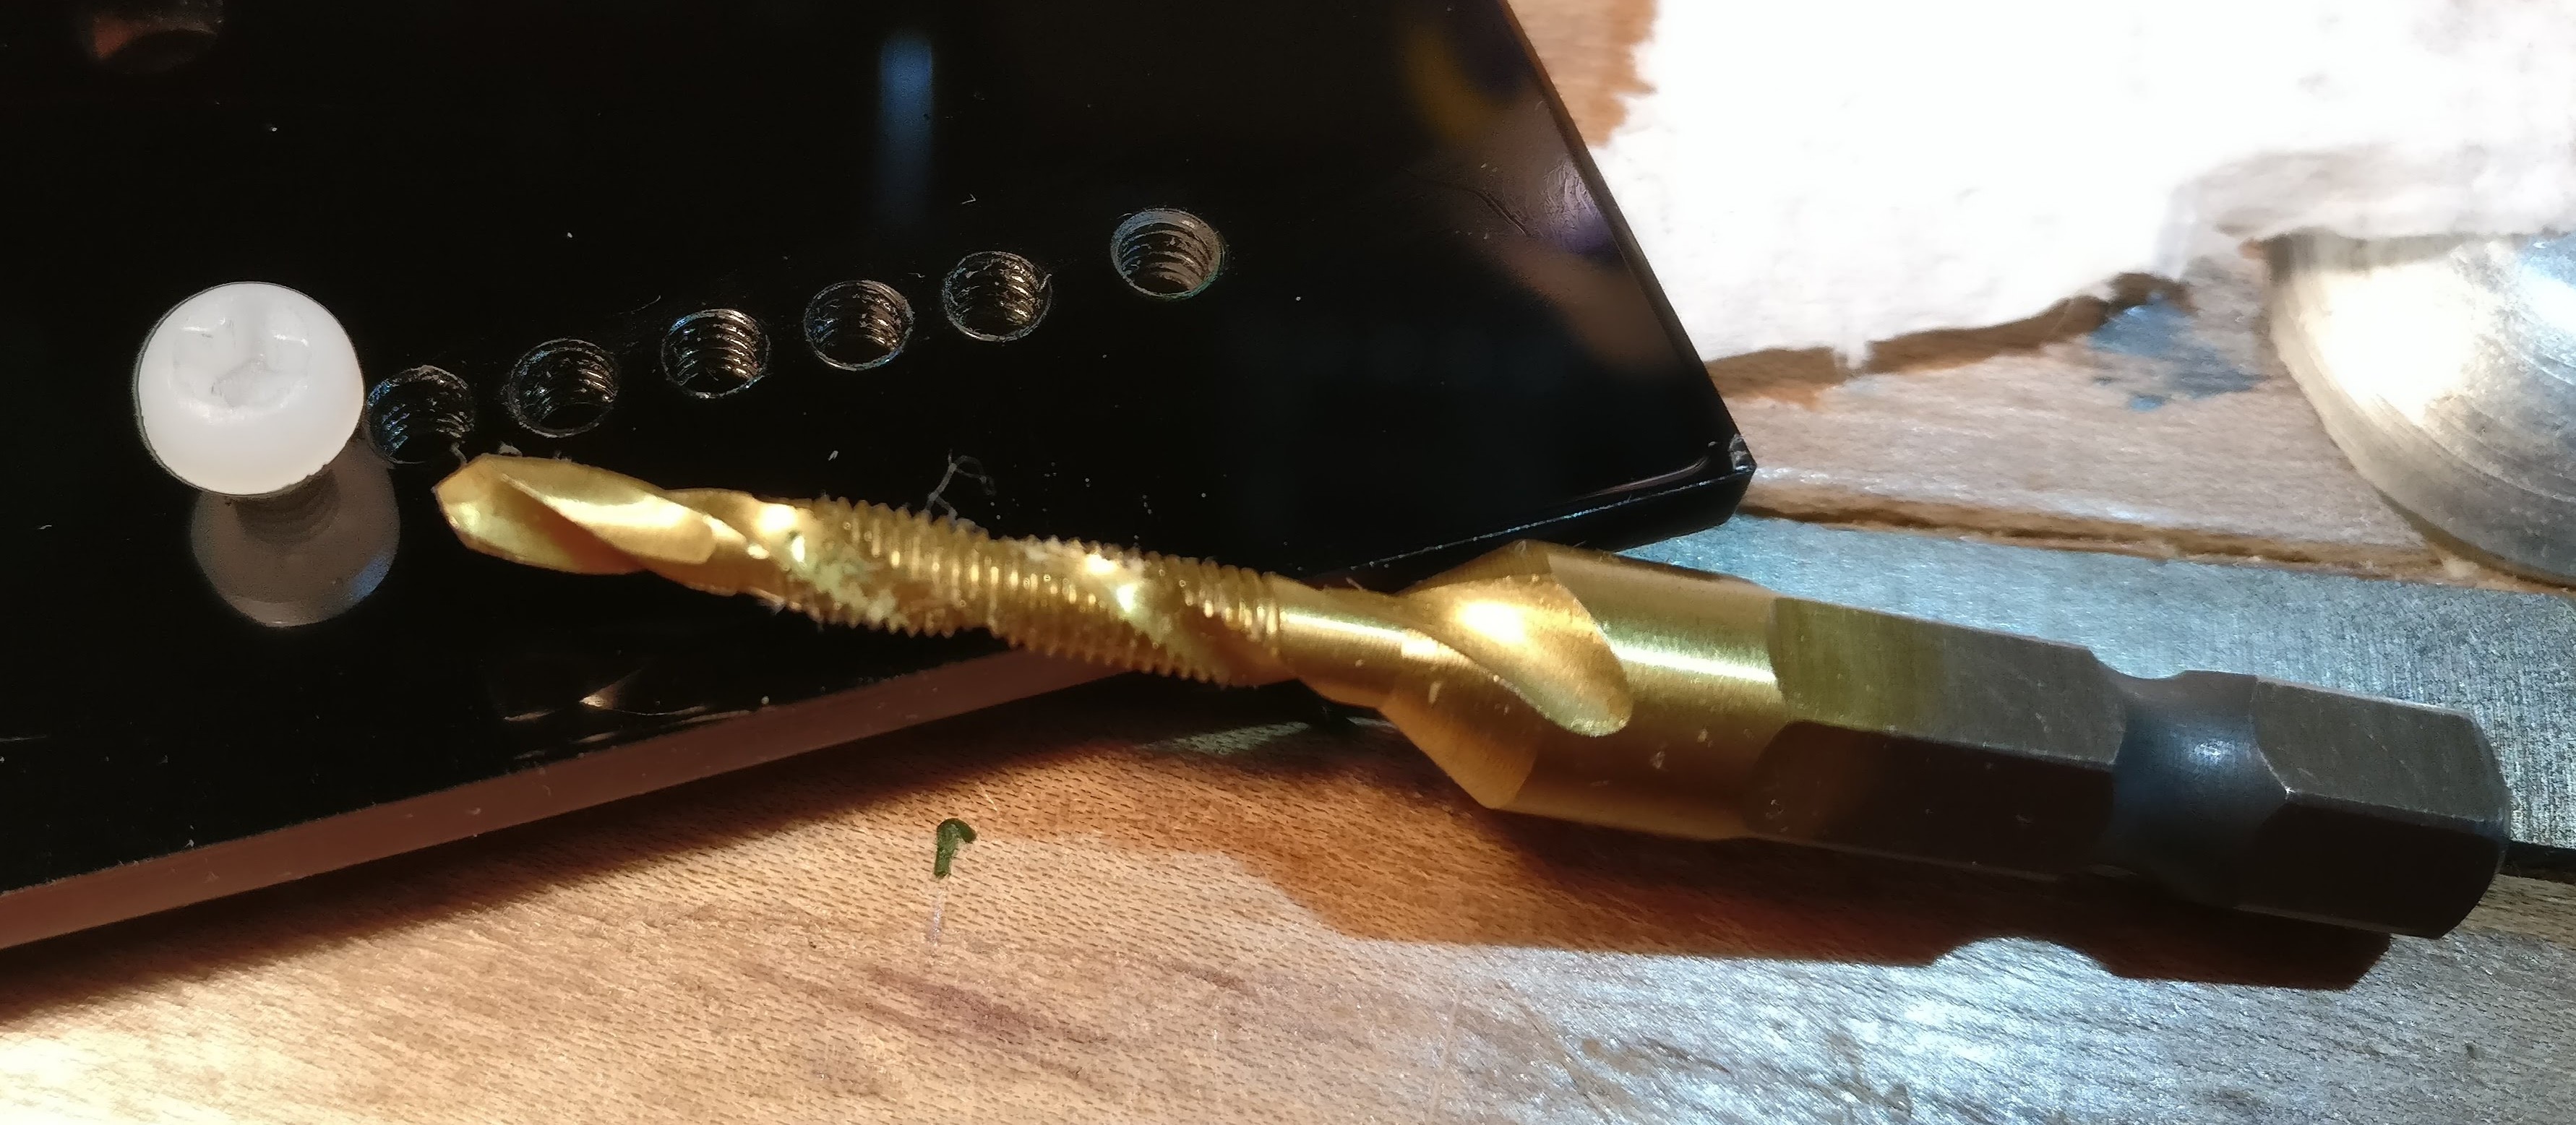
Close view of first attempts at M3 thread tapping in Perspex
Encouraged by this, I tried each of the different taps on my test plate. This was the outcome…
I’m Calling this a Resounding Win!
So now I’ve had this set a couple of weeks and I’ve cut quite a few threads, I have to say these bits are pretty good for threading acrylic. I haven’t tried them on anything else. But I haven’t damaged one yet (as far as I know). I haven’t badly messed up a thread cutting operation yet either.
Alignment is the most difficult part when holding the drill/driver. But if you were doing a lot of them, you could put your cordless drill in some sort of jig or stand for repeatable perpendicularity.
What I Haven’t Tried Yet
I haven’t yet needed to try either…
- drilling, or
- counter-sinking
…with these bits. But thread cutting 3mm acrylic (Perspex) using these taps works just fine in a cordless drill/driver, going slowly, with WD40 as lubricant. Some of the threads look really nice. Here’s a gallery of (mostly close-ups which you can click to enlarge) photos…
-
- Close-up of M10 thread in Perspex 2
-
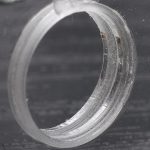
- Close-up of M10 thread in Perspex
-
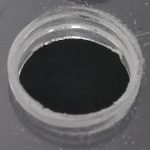
- Close-up of M8 thread in Perspex
-

- Close-up of M6 thread in Perspex
-
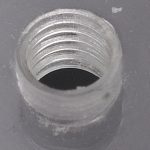
- Close-up of M3 thread in Perspex
-
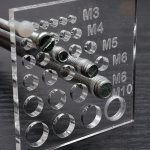
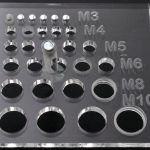
- M3-M10 threads tapped in Perspex sheet
Do these come in 2-56 thread size?
I haven’t seen any, but have a look on ebay, Ali Express or Amazon.
This is very interesting, I recently built a box with acrylic sheet, it was 5mm thick sheet and I was drilling and hand tapping 2mm threads edge on! I used a modelling drill in a stand to ensure that I got perfectly perpendicular holes, I used hand taps with a little Vaseline. I didn’t even know you could get drill and tap combined.
That sounds like a challenging project.
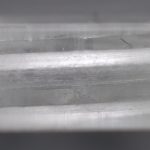
In a few of the pics there’s quite a bit of parallel sided hole still visible (i.e. not cut thread). It’s most apparent on the cross-section of the M10. That makes me think your laser cut holes are oversized (by a beam diameter maybe?) and you’re left with less thread engagement than you could otherwise achieve. Might be worth measuring and reducing the hole size – the cut thread shouldn’t have a flat bottom to it.
Thanks – that wouldn’t be hard to do. I’ll have a look at that. :)
Actually the M10 is the only thread I haven’t checked out of all of them. I didn’t have an M10 bolt to try out. The hole was probably too big. Very easy to tweak though.
Got the Mitutoyo calipers out. The ‘kerf’ of the laser makes the holes about 0.1mm oversize. Might do some testing with smaller holes to optimise the technique.
Will you be making a version of your Zerobase plate with threaded holes, to save having the extra nuts on the bottom? :)
I vaguely remember using a tap and die during high-school CDT to make a metal hexagonal spinner (i.e. something like https://www.amazon.com/Wooden-Spinning-Top-Kids-Set/dp/B01L7XCLP0/ – nothing to do with “fidget spinner”!)
No – for two reasons…
I always wanted to do D&T at school, but it never worked out with my options.
Don’t you just hate it when you use the ‘ol’ tag with a numerical comment and it gives you ‘a, b’?
It’s like someone saying. “Two points. First, I don’t like it and B…”
If only your blog-comments had a “preview” button… ;-)
I’m sure I could find a style sheet somewhere and change it, but I don’t care enough to look ;p
I only commented on it because I knew if I didn’t _YOU_ would.
Awesome!, would also be safer using these in a hex screwdriver if you are at all unsure about snapping one – most likely the 3mm / 4mm. If you break a 5mm HSS tap hamfisted is the only word for it. Must get some of these, thanks Alex. P.S. love the 3B+ review.
Great article!!
Actually drilling is not everyone’s cup of tea. Acrylic Perspex gives the better results when it is cut with finishing. Professionalism is required for that, and that is why I would like to suggest you that its better to contact any expert rather than trying yourself with some tools.
Hi Hollie.
You’re absolutely entitled to your opinion, which happens to be exactly the opposite of mine. I’m the kind of person who would rather have a go, buy the tool, waste some materials and time and thoroughly enjoy learning how to achieve the result I require. Not everything requires a seasoned professional to get an acceptable result. That’s pretty much the antithesis to the Maker movement. But you’re absolutely right. We aren’t all the same. Not everyone likes doing it that way. But when you start to say that one way is better than another it starts to get messy because better for you and your application will not necessarily be better for me. You have to make an informed decision based on your circumstances.
I make a lot of things the way I do them just because I don’t know any better. Sometimes they work just fine and sometimes they end up straight in the scrap heap. Such is life. If I had a dime for everything I made that landed in the trash I could pay an army of people to empty the trash.