On Saturday I decided to build my MotorPiTX, by Jason ‘boeeerb’ Barnett. It was a straightforward build. The only difficult part was the optional micro-USB power connector. Overall it took me about an hour to build. I took my time over it – knowing that I was going to photograph it and that you lot would be scrutinising every blemish. ;)
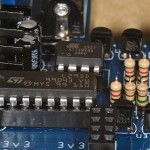
About 20 minutes of that time was spent trying to ensure that I didn’t bridge two connections on the micro USB connector. I rarely use desoldering braid, but on this occasion I did. I made a little bit of a mess of one end, but the other is OK. These are really fine pitch, and a teeny amount of solder is needed. Click to see full size. Note that the middle three connectors are unsoldered, as only the outer two are needed for power. (This works fine.)

That USB socket is the only difficult bit, but it’s optional
Everything else was easy though. The supplied instructions were good.
Jason provided enough male and female headers that you could choose which to use for the connections. In the end, I went with male for all of them except the 4×2 power block. That was provided as female, quite sensibly, as it will help to avoid shorting those pins.

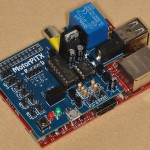
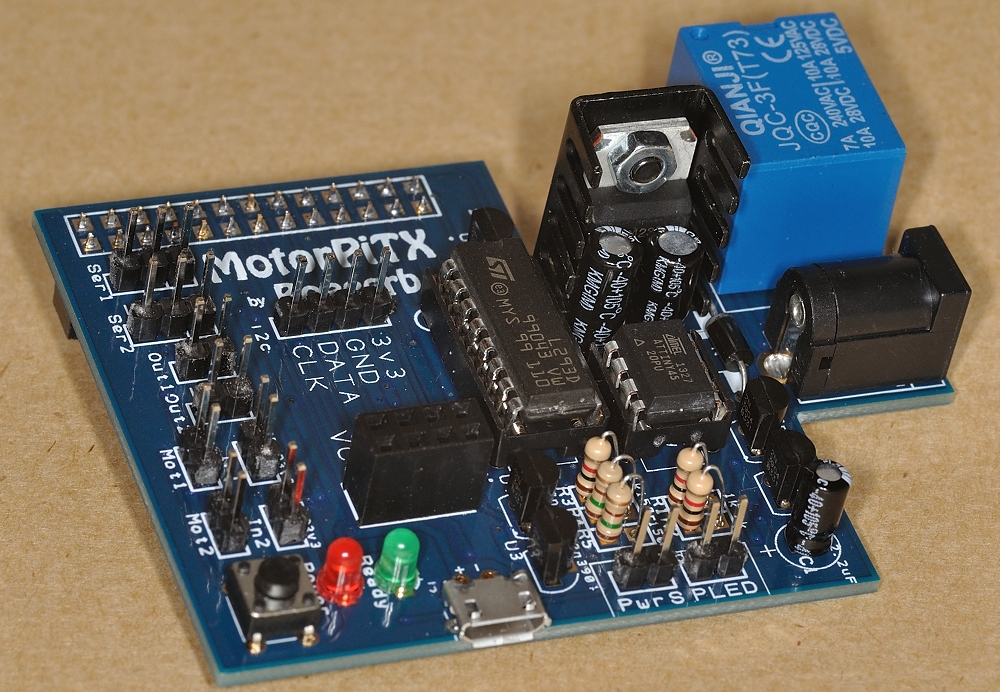
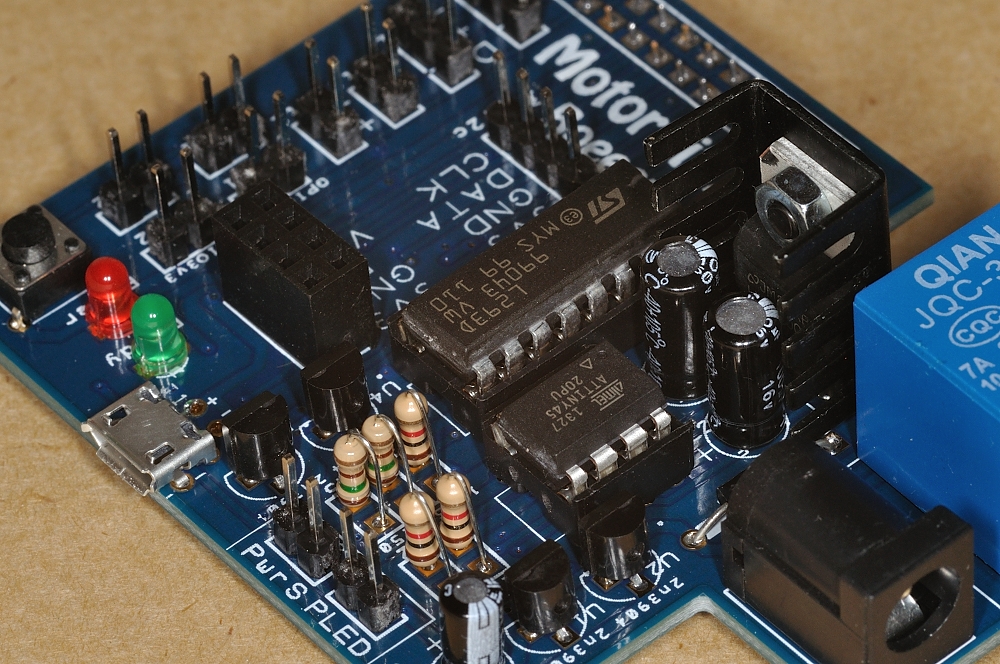
MotorPiTX completed
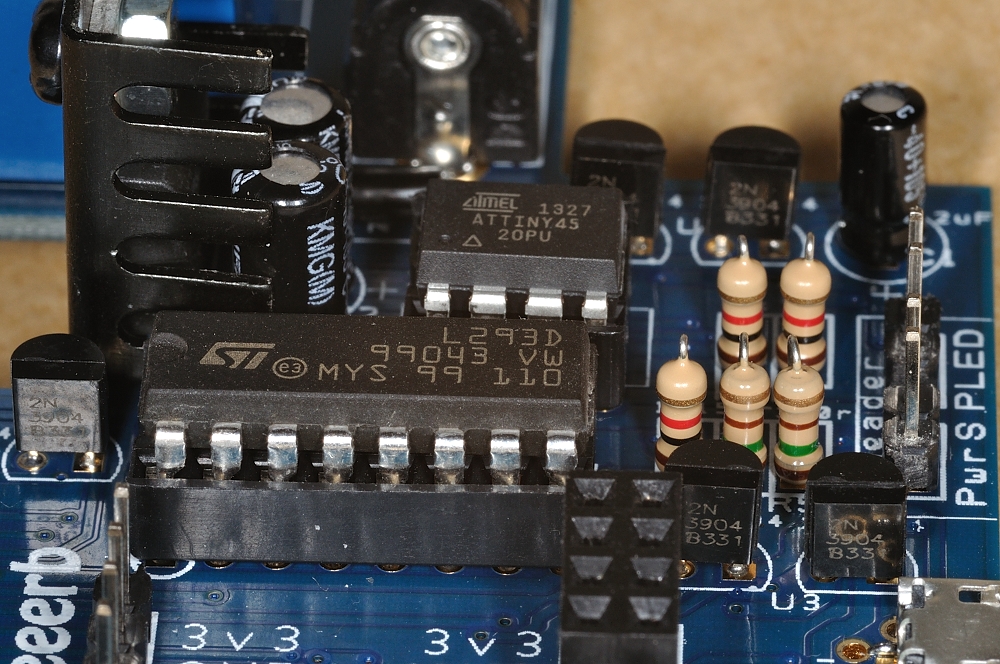
A walk around MotorPiTX
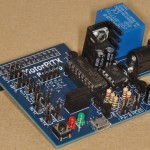
MotorPiTX has an ATX-like power supply, which is controlled by an ATtiny chip, a relay and a voltage regulator, which takes the input voltage from the barrel connector and gives out 5V for the Pi.
When powered up, if you press the button and hold it down for 3 seconds, it will kill the power after 1 minute. The button also acts as an on-switch if you connect power while the board is sitting on top of the Pi. You can also use the button to initiate a shutdown in software (example script provided).
Apart from that, you have 2 leds. Red for power on and green is programmable (GPIO7).
The L293D motor controller chip allows connection of 2 motors with bidirectional speed control. In the Kickstarter kit I bought, there were two geared, brushed motors and wheels to go with them.
There are two servo connections. The software uses a clever servoblaster daemon, which gets round the difficulties of having to install a new kernel to get decent software servo control.
Aside from that you have 2 digital input ports and 2 digital output ports available (but these can be PWMed in software).
Testing
After that, it was time to test it. I don’t think the instructions page is quite finished yet, but being a curious type, I dug around on Github and found boeeerb’s “repo” https://github.com/Boeeerb/MotorPiTX
It’s quite important to read the instructions, which I did, and then promptly forgot several things. The servos and motors get their power directly from the barrel connector. My 5V servo wasn’t too happy that I was pumping 8 Volts into it, but it survived to tell the tale. I’ve now soldered up a switching regulator to provide a 6V supply for the MotorPiTX with any battery up to 35V.
The other thing I messed up on was trying to test the servo without first running the sudo ./servod program.
I went through the test programs and it all worked just as it should, apart from the motor test program which threw an error at me until I changed 500 to 100 in line 8.
I was going to do a little video, but my main (video editing) laptop seems to have died, so it’ll have to wait. So hopefully this photo of it on my Chi Pi will suffice until I can get sorted out.

All done and sitting on the Chi Pi
Overall Summary
MotorPiTX is a great little board if you want to build yourself a little robot. It’s got 2 of everything…
- 2 inputs
- 2 outputs
- 2 motor controllers (hardware with soft PWM)
- 2 servo controllers (software)
…and an ATX-like power supply as well. If my PC hadn’t given up on me, I’d have built a little robot already. (I’m using my wife’s pc to copy the data from its hard drive to the network drive to ensure no data gets lost, while I type this on my Linux laptop, which I normally reserve for Jams.)
Photos
Fortunately, I took these and processed and uploaded them yesterday…
You can click any of them to enlarge
-
- MotorPiTX completed
-
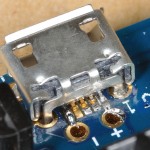
- That USB socket is the only difficult bit, but it’s optional
-
- chips with everything
-
- closer look
-
- All done and sitting on the Chi Pi
Fantastic macro photography as always Alex.
I hadn’t heard the phrase “Chi Pi” before so it made me chuckle when I read that :)
Any chance you could repeat https://raspi.tv/2012/high-resolution-raspberry-pi-photos with your Chi Pi? Although probably not the best time of year for natural lighting conditions!
I’ll have a go when the morning light is right :)
How long did it take for your board to com? My order was taken then seems to of dropped into oblivion. The website is still under construction and none of my questions get mediated.
I got it a couple of weeks ago. Jason is very responsive, and his communication throughout the KS campaign has been superb. I can only assume that your emails are ending up in the spam filters. As far as I am aware, all the kits are shipped, but some of the ready-made boards are still yet to ship. I may be wrong about that, but I’m sure there was an email update on the KickStarter this week.
Yep, it turned up today and is now constructed. I’ll look at testing the motors and servos later. I have had zero replies from the site though, I wish they would put some effort into finishing the site.
How did you get on with the micro USB?
No problem really, I guess I am used to surface mount stuff though. I soldered all the pins in a block then used de soldering wick to remove the excess and bridges. It looks perfect now. I could send a photo if you like. Just tell me where to send it…
Which time zone are you I. By the way, I have sort of assumed that you are in the uk but my post shows 10:58 when I posted in the uk at 00:04?
I’m in UK and Andrew is right. I leave the server permanently on GMT because otherwise it messes up the stats if I keep changing it.
I will see about updating the server clock time Andrew :)
Alex is in the UK yes, but it looks like his WordPress installation is currently running on UTC, which is one hour behind the BST currently in use in the UK :)
I’m posting this at 00:20 UK time…
And it looks like his server’s clock is 6 minutes slow too… ;-)
http://www.abelectronics.co.uk/products/3/Raspberry-Pi/15/RTC-Pi-Real-time-Clock-Module
;-)
LOL. I’ve never even seen my web server. Wouldn’t know where to put the RTC. Bet it’s got one, I’ve just never bothered to update it before ;)
Yeah I was just joking. I was actually kinda surprised to see the clock was out by 6 minutes (now fixed of course!) because I assumed that all web servers (especially those in a datacentre) would automatically have NTP enabled, and so never be set to the wrong time.
They just provide the machine and a bare install of the OS of your choice. Everything else is down to you (i.e. me). I’d never enabled NTP.
Ahhhh. Having owned a few different embedded Linux boards over the years that don’t have any RTC, enabling NTP (and configuring the timezone as necessary) tends to be one of the first things I do ;-)
As these RTC-less boards tend to reset to a really old date at power-on, I add a bit to my .profile so that it prints out a warning message (when I login) if the year is less than 2000.
Anyway, apologies for derailing the original topic so much!