Back in December, you might remember I blogged about using Texy’s 2.8″ touchscreen with the Pi camera.
At the time I was also aware of the very similar, but slightly more compact, PiTFT by Adafruit. The space for four slim buttons on the PCB made it look ideal. So, this week, when SK Pang tweeted about having PiTFT back in stock, I snapped one up. I also thought I’d put it in a nice case. The Pimoroni PiTFT Pibow looked ideal, so I ordered one of those as well. Both arrived 2 days later. It was time to put it all together. See how I got on in the video…
Wonderful Instructions
So I set to work assembling and installing the PiTFT. And here is the part where I was blown away. The PiTFT assembly and installation instructions, written by LadyAda herself, are absolutely outstanding. They’re exactly in alignment with my RasPi.TV philosophy of “complete, clear instructions that work first time”. Lovely clear photographs and clear instructions. I love it when people take the time to do things properly. (Anyone who’s worked with me knows I get very annoyed by sloppy/lazy/rushed/unclear written communications).
You have to remember that when you buy from Adafruit, you’re not just buying hardware, you’re buying a complete experience. I hope that I’ll be able to emulate that with HDMIPi and RasPiO®
One RasPiCamcorder to Rule Them All
I’ve recently been using a Pi with camera and HDMIPi screen to do live photo tweets from events. This is great if you’re based at a demo table, but if you want to be out and about, a large screen can be cumbersome. Since the hardware is basically the same as for a RasPiCamcorder, it seems logical to squish this all down into one compact machine that can do both. So that’s what we have here, with RasPiCamcorder 3. (All photos on this page can be seen at higher resolution if you click them.)

RasPiCamcorder 3 with PiTFT
What’s Different from RasPiCamcorder 2?
- I’ve changed the software to do both video and stills. And we now have four button controls instead of two…
- Record video
- Stop recording, close program, shutdown Pi
- Toggle screen on and off for power saving
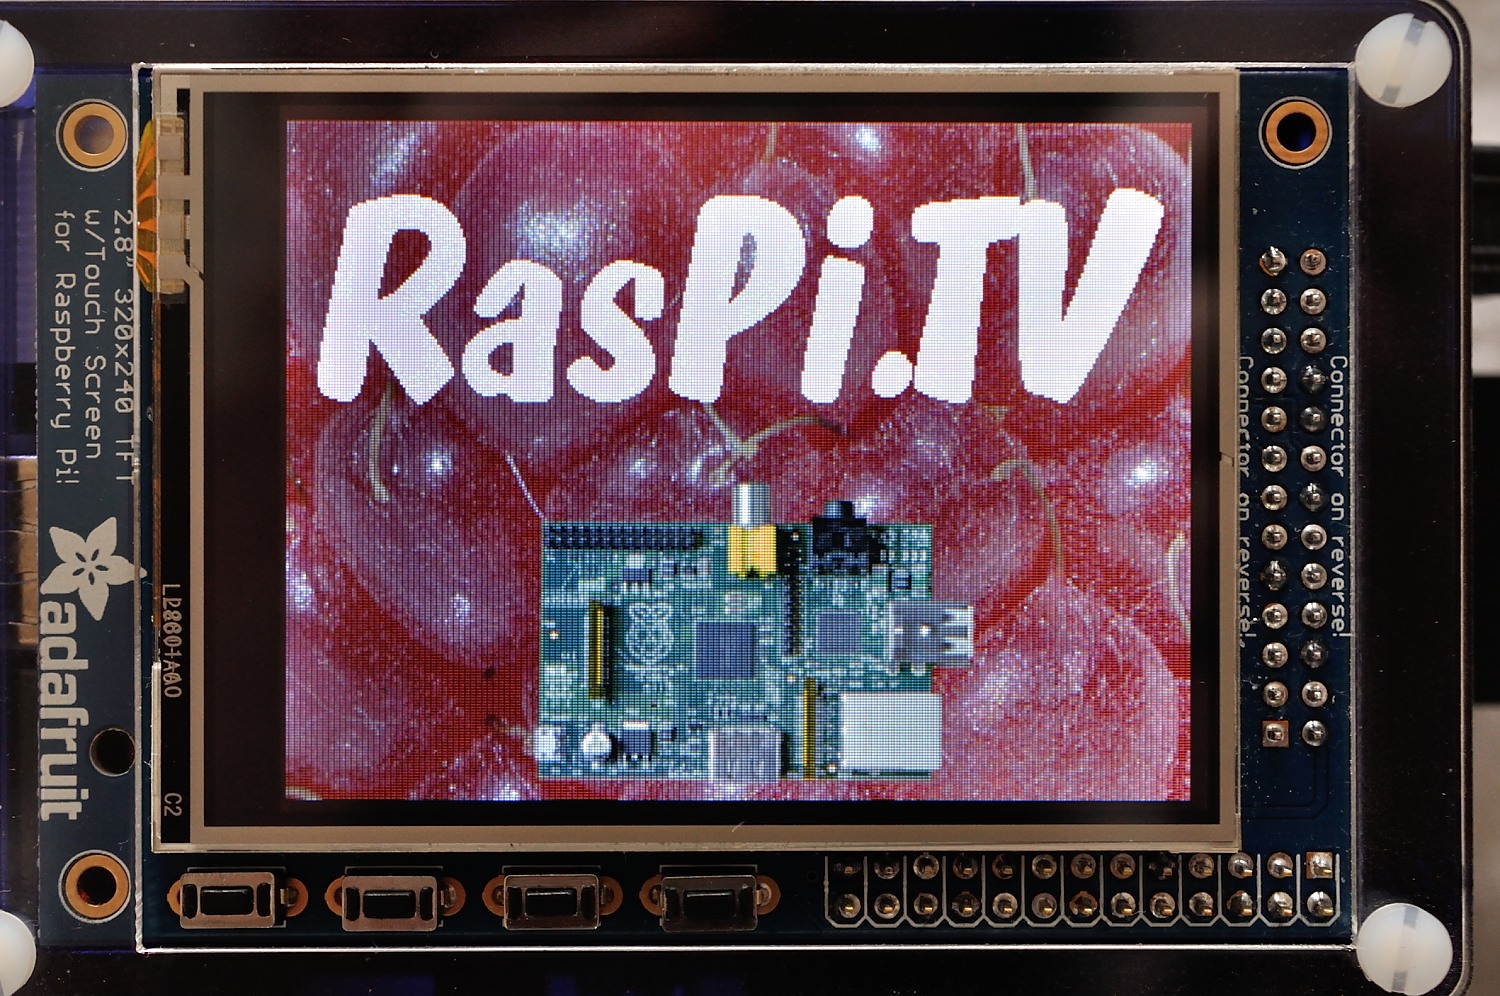
- Take a still photo and display it on the screen
- I’ve not bothered with a bluetooth terminal adaptor, since we now have a screen (and it seemed to cause interference on the screen when I tried it with the Texy version of the same TFT).
- I’ve mounted the camera on the HDMI port using an HDMI to mini-HDMI adaptor which still allows HDMI use.
- The PiTFT Pibow case allows routing of the ribbon cable mostly inside the case, which tidies things up a lot. A blob of white tack keeps it from contact with the Pi.
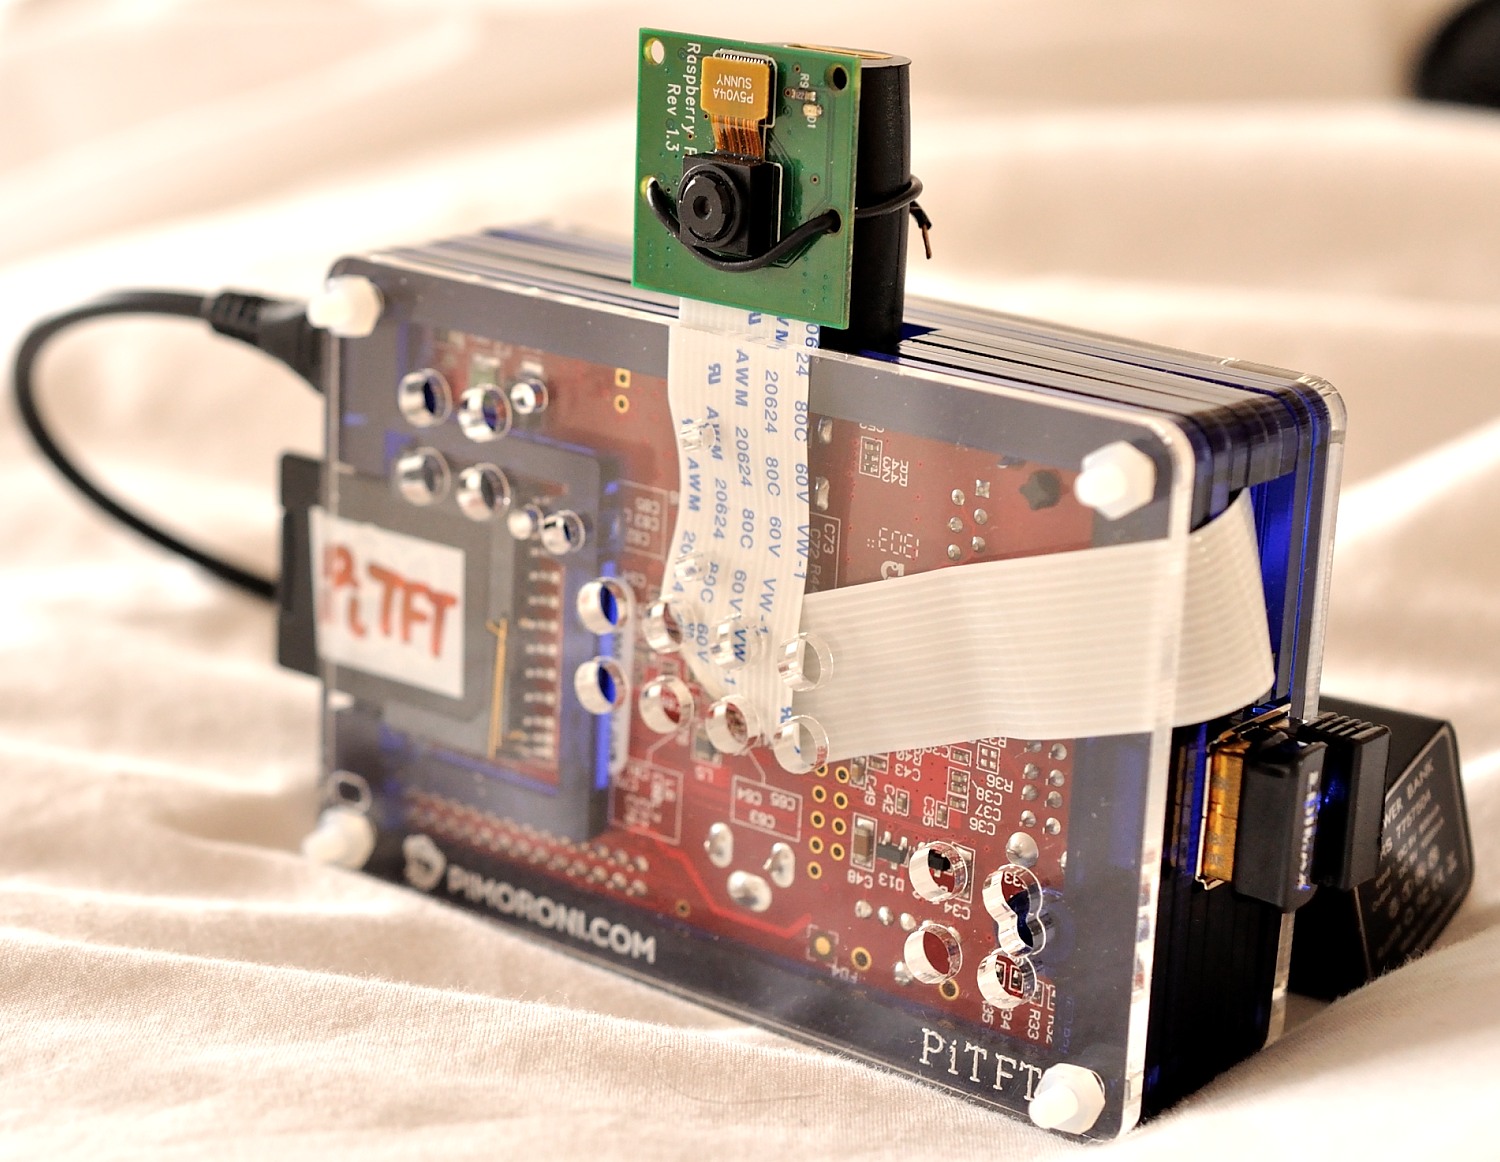
Pimoroni PiTFT Pibow with camera ribbon cable tucked inside the case
- I still need to get one of those half-sized micro sd card adaptors to stop the SD card sticking out.
- I’m using a small battery pack from RS which should last a couple of hours. For longer battery life, a model A Pi could be used. But this would mean having to choose between wifi dongle and keyboard, so wouldn’t be much good for live tweeting.
What’s Still To Do?
Well I haven’t even scratched the surface of touch control or made use of Dave Jones’ picamera python interface yet. So there’s a lot that can still be done to improve it. But the proof of principle is there. It works. I’m well aware of Phillip Burgess’ excellent touch-controlled camera based on the PiTFT. It may be that someone, which could be me, Phillip or you, would be able to bring it all together. Any takers?
Video display does still rely on a clever-but-clunky workaround to show the live feed from the camera. I don’t pretend to know exactly how this ‘black magic’ works, but basically the program I’m using – fbcp – copies the main video out feed, downsizes it, and sends it to fb1, which is the frame buffer that the PiTFT uses.
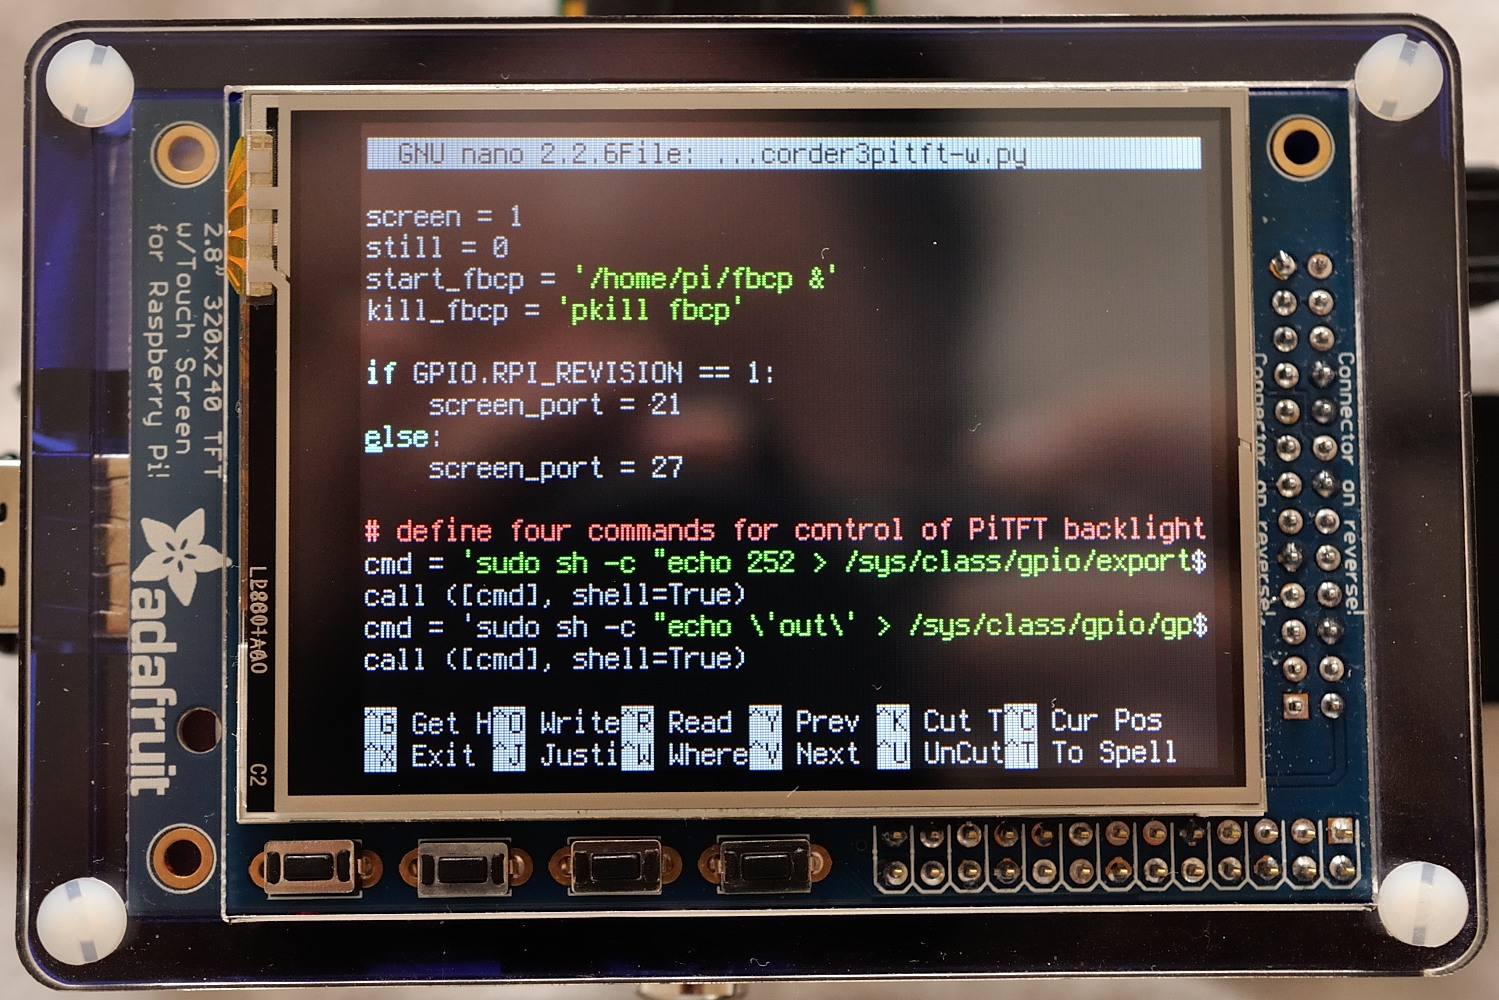
PiTFT displaying a Python raspicamcorder script
All that is running on the ARM processor, so it’s amazing to me that it works at all. So the fact that it’s a bit ‘jumpy’ is very forgivable. Hopefully, in time, someone will figure out how to use the GPU to do more of this.
There is also still no sound recording.
New Github Repo for the New Software
I thought it best to make a brand new Github repo for this, since it’s customised to the PiTFT. It’s on a CC-BY license. I don’t want to restrict what you can do with it.
So if you’ve got a PiTFT and camera, and want to play RasPiCamcorder3, the instructions are in the Readme file on github.
Have fun. And do let me know in the comments below if you try the software.
UP close and personal with PiTFT
Looks very neat! Hadn’t seen the PiTFT PiBow before.
I may have to treat myself to a PiTFT and PiBow combo… :-)
Could you maybe add a link to the SKPang PiTFT page Alex?
You just need to add a couple of elastic bands (or some velcro) to affix the battery to the case ;)
If you added some extra ‘layers’ to the bottom of the case could you then mount the camera internally?
Here’s the link Andrew http://skpang.co.uk/catalog/pitft-mini-kit-320×240-28-tfttouchscreen-for-raspberry-pi-p-1273.html
I think you could add 1 or 2 extra layers and punch a hole in the bottom to do that, yes.
Any chance Adafruit will carry the HDMIPi at some time?
They’ve already got a range of their own screens, but if they want to, why not?
None as large or relatively affordable as yours is.
If they did, there’d have been no reason for Alex to run his Kickstarter… ;-)
my project is to make video streaming on my windows. I have a camera raberry infarouge and card raspi. can you help me to detail the procedure here my email dhekra.bnc@live.fr thanks
It’s actually quite easy. I already have instructions for streaming to a Nexus 7 using VLC at both ends here…
https://raspi.tv/2013/how-to-stream-video-from-your-raspicam-to-your-nexus-7-tablet-using-vlc
All you do to stream to Windows instead is install VLC on your windows machine and use that to watch the stream. Everything else will be the same as in the above link.
[…] RasPi.tv has made this awesome RasPiCamcorder using Adafruit’s PiTFT! Check out the build here. […]
[…] RasPi.tv has made this awesome RasPiCamcorder using Adafruit’s PiTFT! Check out the build here. […]
Great project! Thank you. I’ve enjoyed replicating/combining it with Phillip Burgess’ touch-screen tft camera over this week. During build I noticed that the Pimoroni Tft Pibow case actually has four small holes in the base for mounting a camera, so my camera is mounted on the base – used longer bolts and nuts and an extra base layer to give it some space.
Being able to save to dropbox is fantastic!
Excellent :)
I’m not sure these instructions are working any more. You can get the screen working but I’ve tried to get the buttons working without success. There seems to be a lot of people in a similar situation on forum boards asking the same questions. I wonder what changed?
Whose instructions, mine or Adafruit’s?
Hey, only now seen oyur improved version. can you give me help to use your script oly with stils. it should startup and show liveview, push the button cause a shoot and show it 10 seconds on the screen. and upload it to dropbox.
ist it posible that you modify the script for this usage?
Sorry. I released it so people could do their own. I don’t have time to do a custom version for you. You might be better off using the Adafruit software package.
Think of this as a good reason to teach yourself Python :-)
http://www.raspberrypi.org/documentation/usage/python/README.md
“When it comes to configuring the drivers, don’t set up a ‘power off button’. (It’s one of the extras on the last page of setup instructions.)”
I accidentally did the power button assignment and now the camcorder software won’t run. I tried to remove the power button assigmnent stuff but I still can’t run it. Keeps telling me that rec_num is not defined on last operation “record_button”.
How can I fix this?? :(
rec_num is stored in a file. If the file doesn’t exist, the program tries to create it. Did you put the software in a place where you are allowed to create files? I usually have it in /home/pi if I remember rightly.
It sounds like an I/O issue to me rather than anything to do with the power button.
Hi, this might be wrong place to post for help, but I am trying different places to get as much information as possible. I am working on home project , where I strive to make one smart bell my self. I’ll implement into 2 phases.
On first phase , I want to make the pi mounted some whereat front gate of house and constantly streaming to local network stream. for that I have Pi, NOIR camera module. and this is where I need help for, I need to decide which rechargeable battery should use. my front gate light turn on every day from 8pm to 12pm. so I was thinking of connecting battery to that outlet charging battery every day in evening , and pi running off of battery during day time. I also need recommendations for infra red flash LED set also which I connect to pi to make the pi NOIR camera stream in dark also when lights are off. I was thinking of programming GPIOs to turn of IR led when its day time to save power and extend battery life.
second phase , I wanna install motion. record video stream to my home server when camera sees any motion. and if possible call to my cell phone when bell button is press to do one way video call.
any kind of help and suggestions are welcome. I know there few off the shelves devices available which do similar, but I am interested in doing something myself.
I think the best place for this question is over at http://www.raspberrypi.org/forums/viewforum.php?f=41
HI I am looking to doing something similar to what you have but for automotive purposes. I was wondering how you were sending the video stream from the camera to the pitft. I am using the picamera module for python. Any help or guidance is much appreciated. :)
I’m using fbcp. It’s explained (I hope well enough) in the github link https://github.com/raspitv/RasPiCamcorderPiTFT
I am buidling a robot with a PiTFT video and need all the GPIO’s I can. Can you give me a hint on how to run the video monitoring without pressing a button. I just want to start streaming unitl in Break out of it. I know this outside your code but I was wondering if you could help.
im building this project and i encountered an error when i run the picamcorder3.py
sh: echo: I/O error
sh: 1: cannot create /sys/class/gpio/gpio252/direction: Directory nonexistent
sh: 1: cannot create /sys/class/gpio/gpio252/value: Directory nonexistent
and
GPIO.wait_for_edge(22, GPIO.FALLING)
Hmm. This gpio252 thing depends on a kernel hack to get the PiTFT working as far as I remember. But I have no idea if it has been updated for more recent versions of Raspbian.
You shouldn’t have any problems with GPIO 22 though.
Looks like all the various PiTFT screens are now supported by DeviceTree overlays, which are the “proper” and non-hacky way to get things working in recent versions of Raspbian :-)
https://github.com/raspberrypi/firmware/blob/master/boot/overlays/README#L1109
what should i do with that?
Add the appropriate command to /boot/config.txt
sudo nano /boot/config.txtadd
dtoverlay=pitft35-resistivepower off, attach your screen and start up the Pi. If you need to tweak the rotation it would be…
dtoverlay=pitft35-resistive,rotate=180etc.it already have that code
btw im running the jessie os that provided on the adafruit installation site for pi tft so i also deleted the command for shutdown button
Sounds like you should ask for help either on the Adafruit site, or on the RPi forums http://www.raspberrypi.org/forums/