Anyone who follows me on twitter can’t fail to have noticed some cycling related comments recently. Yes, cycling is the current interest. I’ve ridden about 1100 miles in the last 6 months and have learned enough to bore you to death with talk of heart zones and various items of clothing you can buy to make winter rides more bearable.
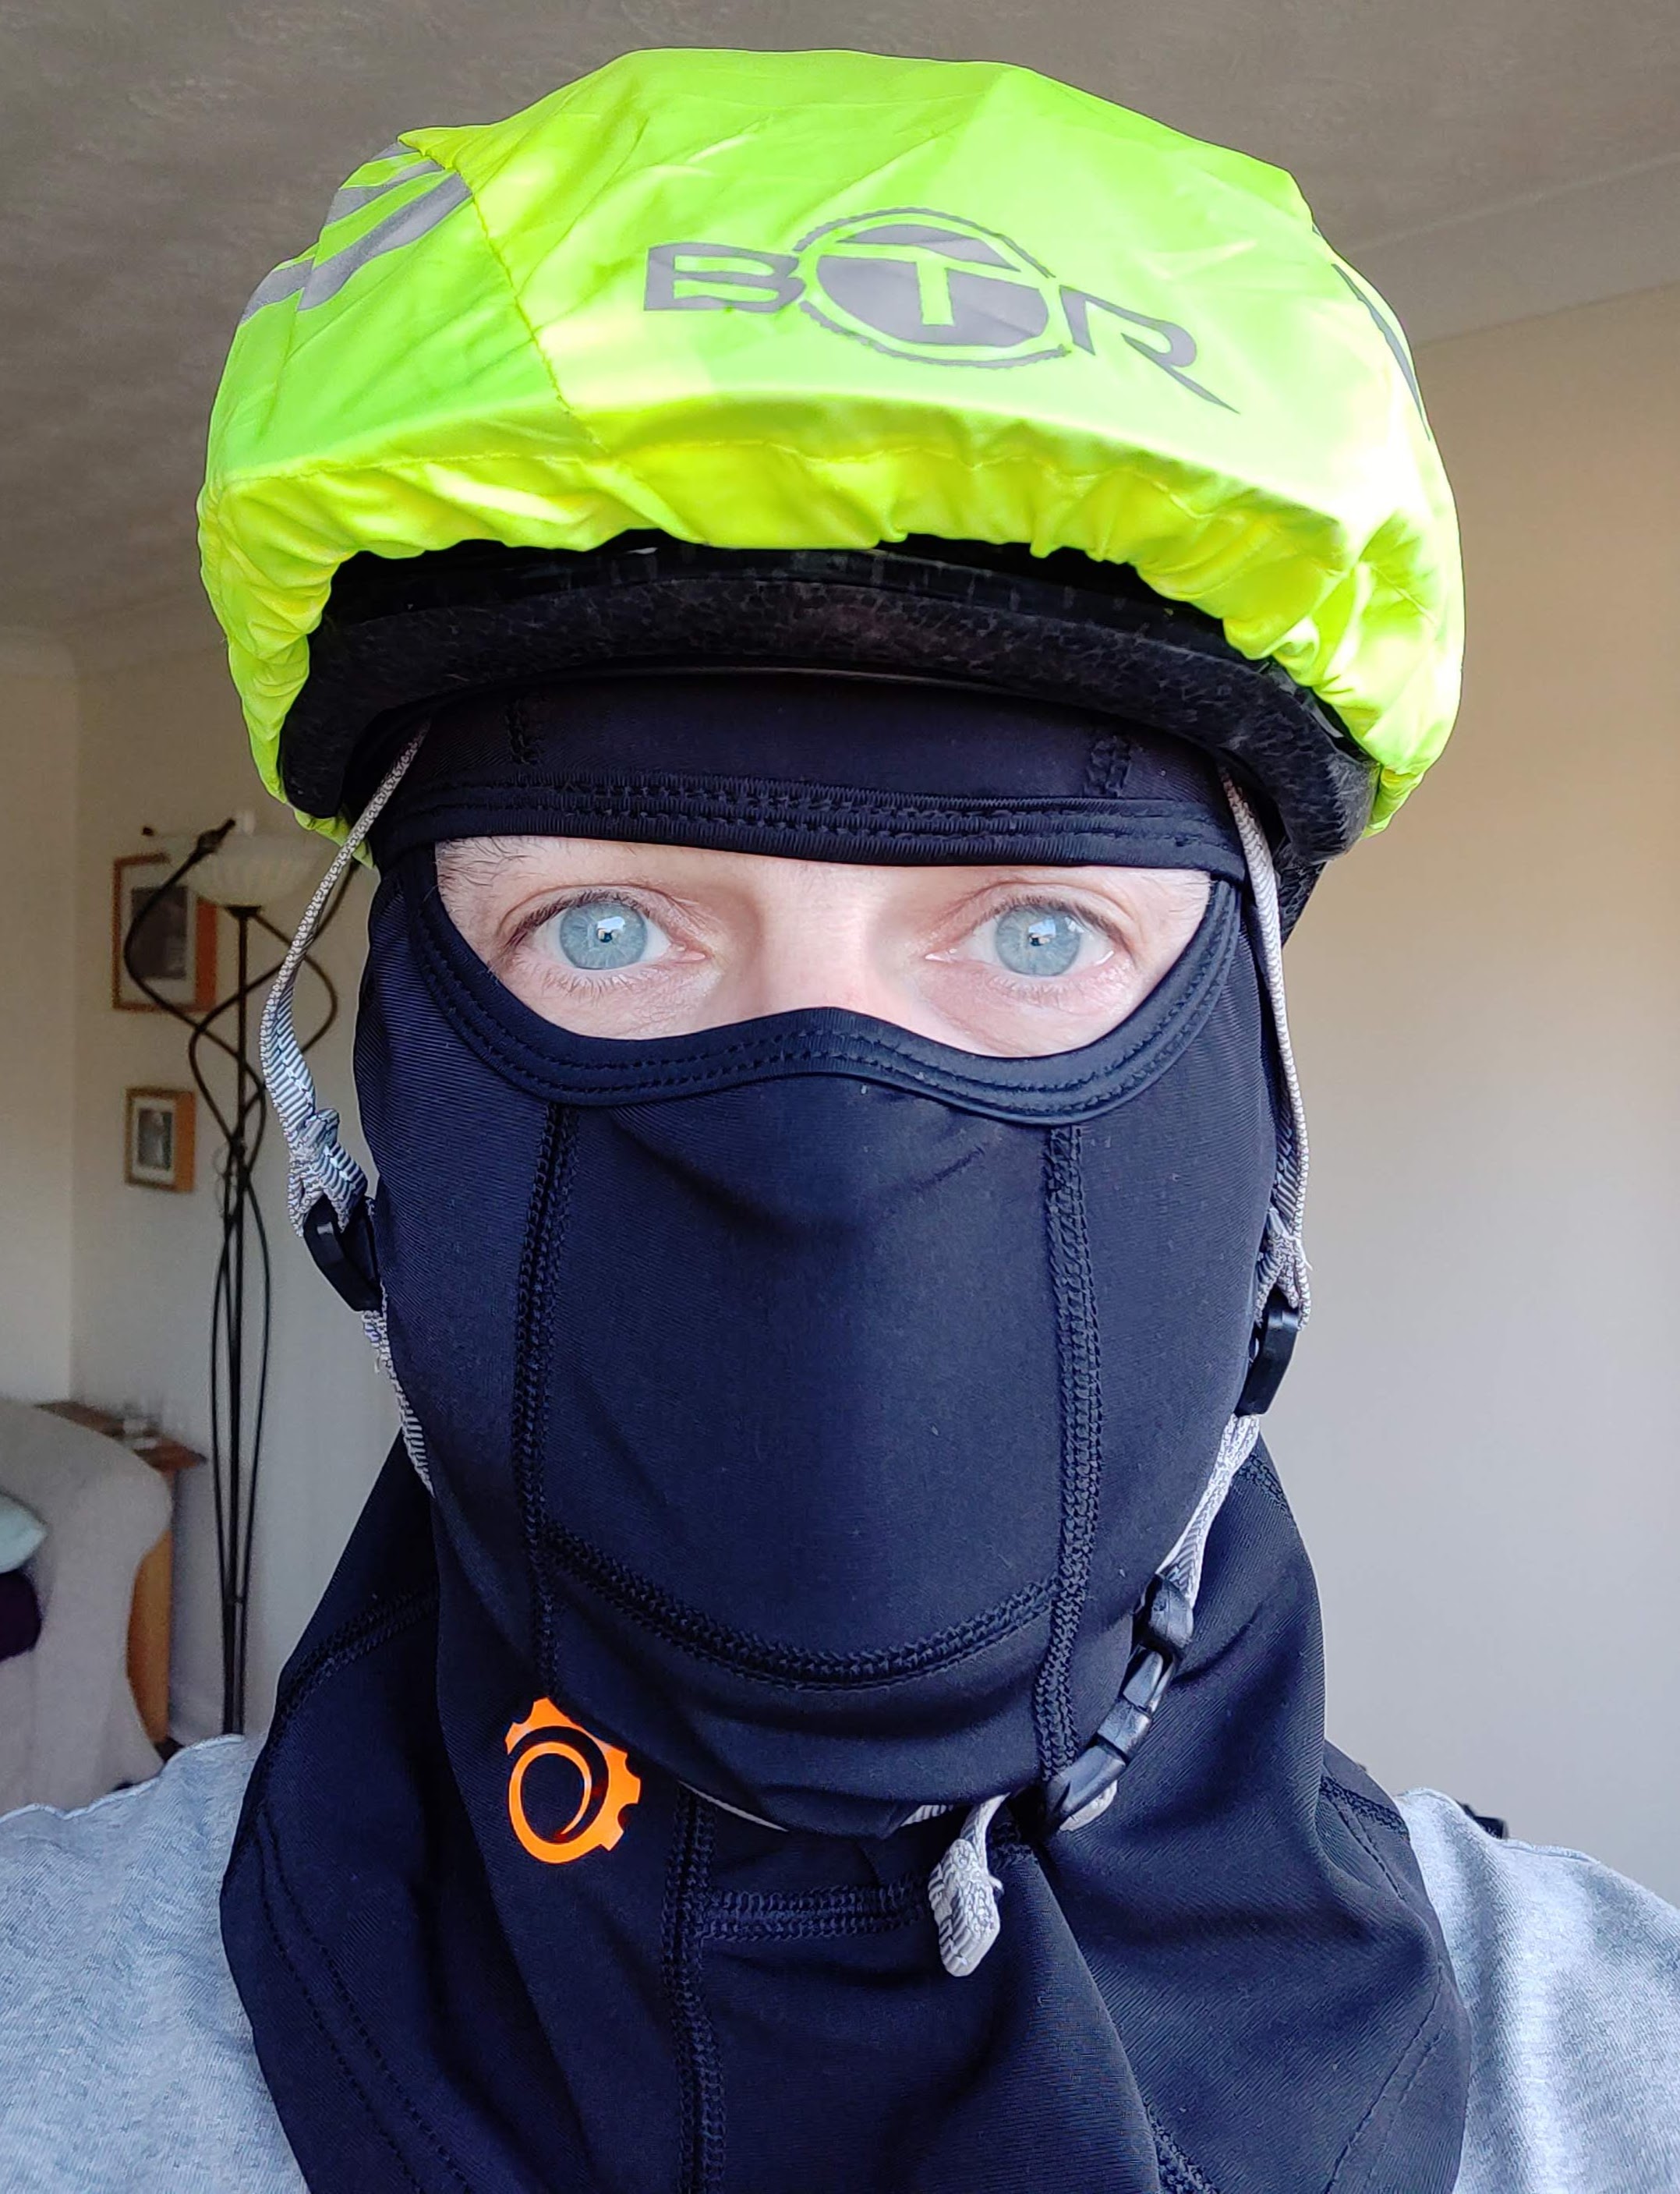
It would have to be REALLY cold to go out cycling in this lot
But I won’t! Although I will say that I’m reliably informed by close friends that simultaneously wearing both my balaclava in ‘full ninja’ mode AND my cycle helmet cover makes me look like a ‘tit’. (Must be a blue tit or great tit with all that black and yellow, I suppose?) I only did it for the photo. In real life, you need to breathe to cycle so covering nose and mouth is not very practical (unless you’re a bank robber).
Behind You!
I’ve decided that I want a decent way of seeing what’s behind me (and recording it) while on the bike. I already have a little mirror I bought for rearward viewing, but it’s not very satisfactory and a camera/screen combo would be a lot cooler (and more fun).
I also want to record what’s in front of me. Out on a ride today, someone very nearly pulled out of their driveway and into the road directly across my path. We both saw each other just in time and braked, but it was too damned close. Time to look at dashcam options!
What are the Dashcam Options for Bikes?
I had a look on Amazon and decided that the cheaper, ready-made, motorbike two-camera solutions don’t look good enough (poor reviews, unable to resolve a vehicle number plate) and the decent ones are too expensive (£200+). The main use for me is to see what’s behind me, and record both front and rear footage. I don’t give a damn about overlaying GPS coordinates or anything like that at this stage, but sometimes it’d be nice to see the scenery and wildlife. A rabbit ran out across the road right in front of me today. It would have been interesting to see what that looked like on camera. And yes, there’s always the ‘evidence gathering’ side of things too, which one hopes never to need.
So What About Pi-based Solutions?
It’s always a good idea to see what’s already been done before reinventing the wheel. There’s a very nice implementation of a two-camera dashcam using a Pi2, a Pi camera and a USB webcam over at Pidashcam.
It looks great, but I don’t want to bother with GPS at this stage and I need a screen to see what’s behind me in real-time. I also want to use some of the huge pile of kit I already own. So I’m going to do things a bit differently and go with a 2 Pi system and a small Keidei 3.5″ HDMI screen I bought on ebay 2 years ago for £20 and have only used once. This screen sits directly on top of a Pi A+ or B/B+ and connects via HDMI. It also has resistive touch (but I’ve never used that).

3.5″ Kedei screen rear. It sits directly above a Pi A or B
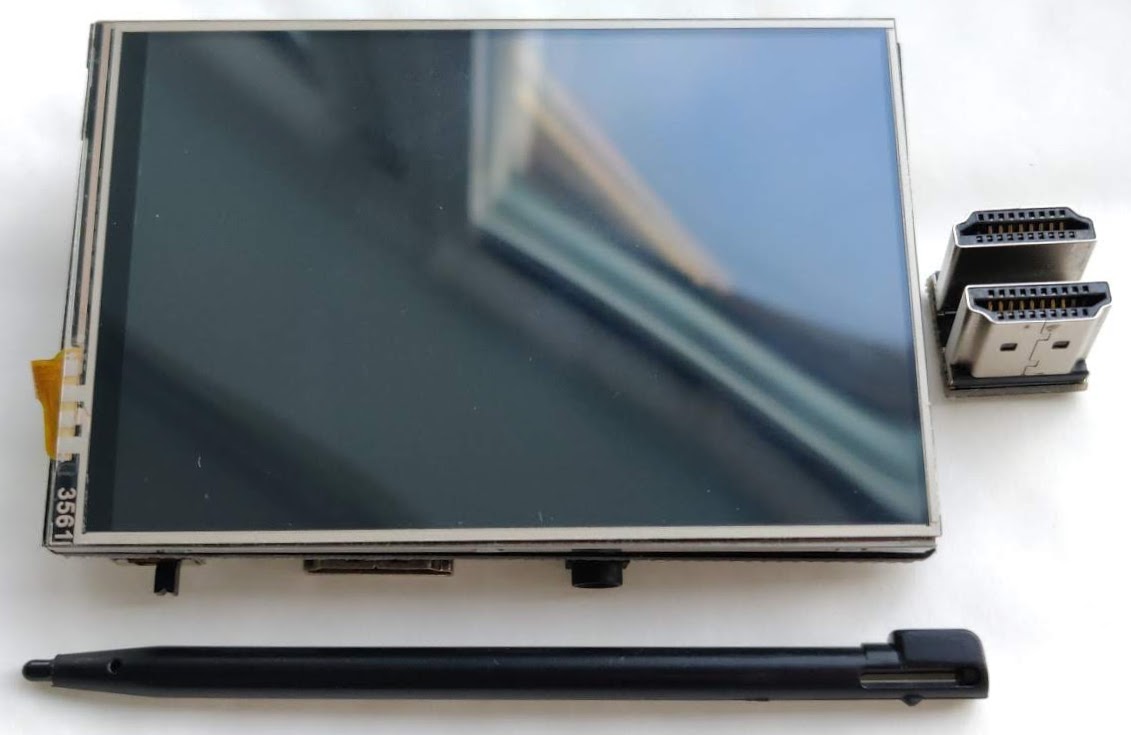
3.5″ Kedei screen with stylus and HDMI connector
If that works out well I might upgrade the screen to something with higher resolution. For the Pis I’m going to use a brand new Pi3A+ with screen and Pi camera at the front. At the rear there’ll be a Pi Zero W with one of those tiny Pi Zero cameras.
The front Pi will act as a wireless access point and the rear Pi will connect to it. Both Pis will be set up to record video while powered up. The rear Pi will also stream its video to port 8090. The front Pi will grab that stream and display it, probably using vlc, on the screen so I can see what’s behind me. This is just the day 1 design ‘specification’ in my head. No plan survives contact with the enemy, so you can be sure it’ll change as we go. That’s half the fun.
A Few Useful Links With Info
I’m literally blogging this project as I go, so here are the links I’ve found thus far which I’ve gleaned code snippets and ideas from…
- Pidashcam project
- Kedei drivers – maybe I can get the resistive touch working on the screen?
- Blog I wrote about streaming live video from Pi camera
- Set up wireless access point on Raspbian Stretch
- recording and streaming at the same time
raspivid -o - -t 0 | tee test_video.h264 |

cvlc -v stream:///dev/stdin --sout '#standard{access=http,mux=ts,dest=:8080' :demux=h264
That was it for evening 1. Next will come further ponderings, a feasibility test and obviously some changes of direction.
Will this also integrate with your bike indicator-lights you made a while ago?
For “evidence gathering” I guess it might be useful if you added an RTC so that the Pis know what time it is? And if you’re constantly recording video to SD card you’ll want to make sure the Pis shut down cleanly before the battery cuts out, to avoid filesystem corruption.
I’ve probably ridden about 500 miles in the last 6 months but that’s mainly commuting to and from work.
In theory you could combine it. In practice I took the indicators off when I got a bit more serious about my cycling and discovered that they tend to conk out after about an hour and 25 minutes. I either needed to sort out a much larger battery or take them off. I took them off because I also needed to make use of the extra saddle bag space the battery was occupying. I’m now up to 40 mile rides which are around the 3 hour mark, so 1.5 hrs of lights is not what you want. For something like that you want it to be rock-steady reliable or better off not having it.
Evidence-gathering RTC etc. Yes that’s one way to do it. I think, and you’ll see as the project evolves, that I will get the Pis to sign in to my home wifi and grab the time and date before I go out. All my rides currently start from home, so that should work. Could also use a phone hotspot if needed.
As regards duration, I will try to spec it properly and not run out :)
“As regards duration, I will try to spec it properly and not run out :)”
Hmmm, do you know anyone that has done power measurements of all the different Pi models with the camera active? ;-D
I guess you might need an even bigger battery than before? So the bike will be heavier, but that’ll give you stronger leg muscles :)
“Hello, this is Alex Eames, from RasBike.TV”
Actually the LEDs blow through a lot of power. A 24 APA102 ring can use up to 50 mA per LED (it’s 3 LEDs really RGB), so 1.2 A at full blast. Even at half power it’s a lot more than a Pi Zero.
Add two 24 LED triangles and you’re looking at a lot of juice. “Normal” LED bike lights seem to last for about 8-16 hours on a set of batteries (and I carry spares), but they’ve got lenses to focus the light.
I think this system will use less power than the bike lights, but all the measurements in the world aren’t worth anything compared to a real-life test (which I haven’t got as far as doing yet).
I’m watching this with great interest Alex because I’d like to do the same thing. Is there any way to timestamp the video?
I think there is. The pidashcam project has done this. I know it can be done with Python Picamera as well.