In part 1, I covered the initial concept’s ‘evening 1 musings’. Now it’s time to get going on the project and see if we can make it work…
Getting Access Point Running on 3A+
I went through this procedure… Set up wireless access point on Raspbian Stretch stopping at the part “Add routing and masquerade” as it seemed unnecessary (there is no ethernet port on a Pi3A+).
Then I could log into the 3A+ from my mac. I connected up the screen and tested it with the camera. The AP seemed OK with the screen connected as long as you leave it a minute or so to initialise on boot before trying to connect. First couple of times I tried, I wondered if the screen was causing interference. It looks like it might be necessary to switch on the front Pi first and wait a minute before switching on the rear Pi Zero W. We’ll see.
I also did a quick current measurement and the Pi3A+ with screen in use and filming uses 0.67A which is rather a lot. Without filming it’s 0.55A.
The nice thing about this Kedei screen is that even though it is small resolution it has a scaler, so if the Pi feeds it 1080p it will scale it in hardware. That will be useful for our streaming, but it comes at a cost of battery power.
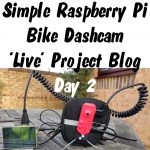
Pi3A+ as wireless access point + kedei HDMI screen and Pi camera 1
Power Ponderings
A bare Pi3A+ uses 350 mA or 0.35 A when shooting 1080p video. This means our screen is using 0.67 – 0.35 = 0.32 A, which is more than I’d like. It may be that our power overhead will increase when we’re showing the stream from the rear camera and recording the front camera as well.
For a 4-hour bike ride you’d need 670 mA * 4 hours = 2680 mAh at 5V.
But since most USB batteries are a single 3.7V cell boosted to 5V, in reality you’d need 2680 * 5/3.7 = 3622 mAh on a single cell pack. And in reality you want to over-specify by at least 20% because manufacturers often lie about their capacity figures (they are tested to destruction rather than sustainably, so the figures are unrealistically high).
OK so it looks like that side of things works but is a bit power hungry.
Let’s Take a Look at the Rear End
I flashed a new “Raspbian Stretch with desktop” image to a 16GB µSD card using the fabulous “Etcher” software and USB3 card reader on my Mac. Then fully updated it on a Pi3B+ (faster) via ethernet before transferring the card to a Zero W. With the Pi3A+ Access Point fired up, the login credentials for the AP were entered. Now, if it works properly, the Zero W should automatically log into the AP on boot. A few configuration settings…
- enabled camera
- enabled ssh
- remove ethernet connection and fire up Pi3A+ AP
- enter AP login credentials to make a connection
- shut down and put the card in a Zero W connected to keyboard, mouse and monitor
- boot up and check camera works
- check and note its ip address with ifconfig
Then I connected my Mac to the Pi3A+ AP as well and sent this command to the Pi Zero W via ssh
raspivid -o - -t 99999 -hf -w 640 -h 360 -fps 25|cvlc -vvv stream:///dev/stdin --sout '#standard{access=http,mux=ts,dst=:8090}' :demux=h264
This set up a stream from the camera at low resolution (640 x 360) just for testing.
Then I fired up vlc on my mac (mac is logged into the 3A+ access point too) and pointed it at http://ip.of.my.pi:8090 and…
IT WORKED – YAY!
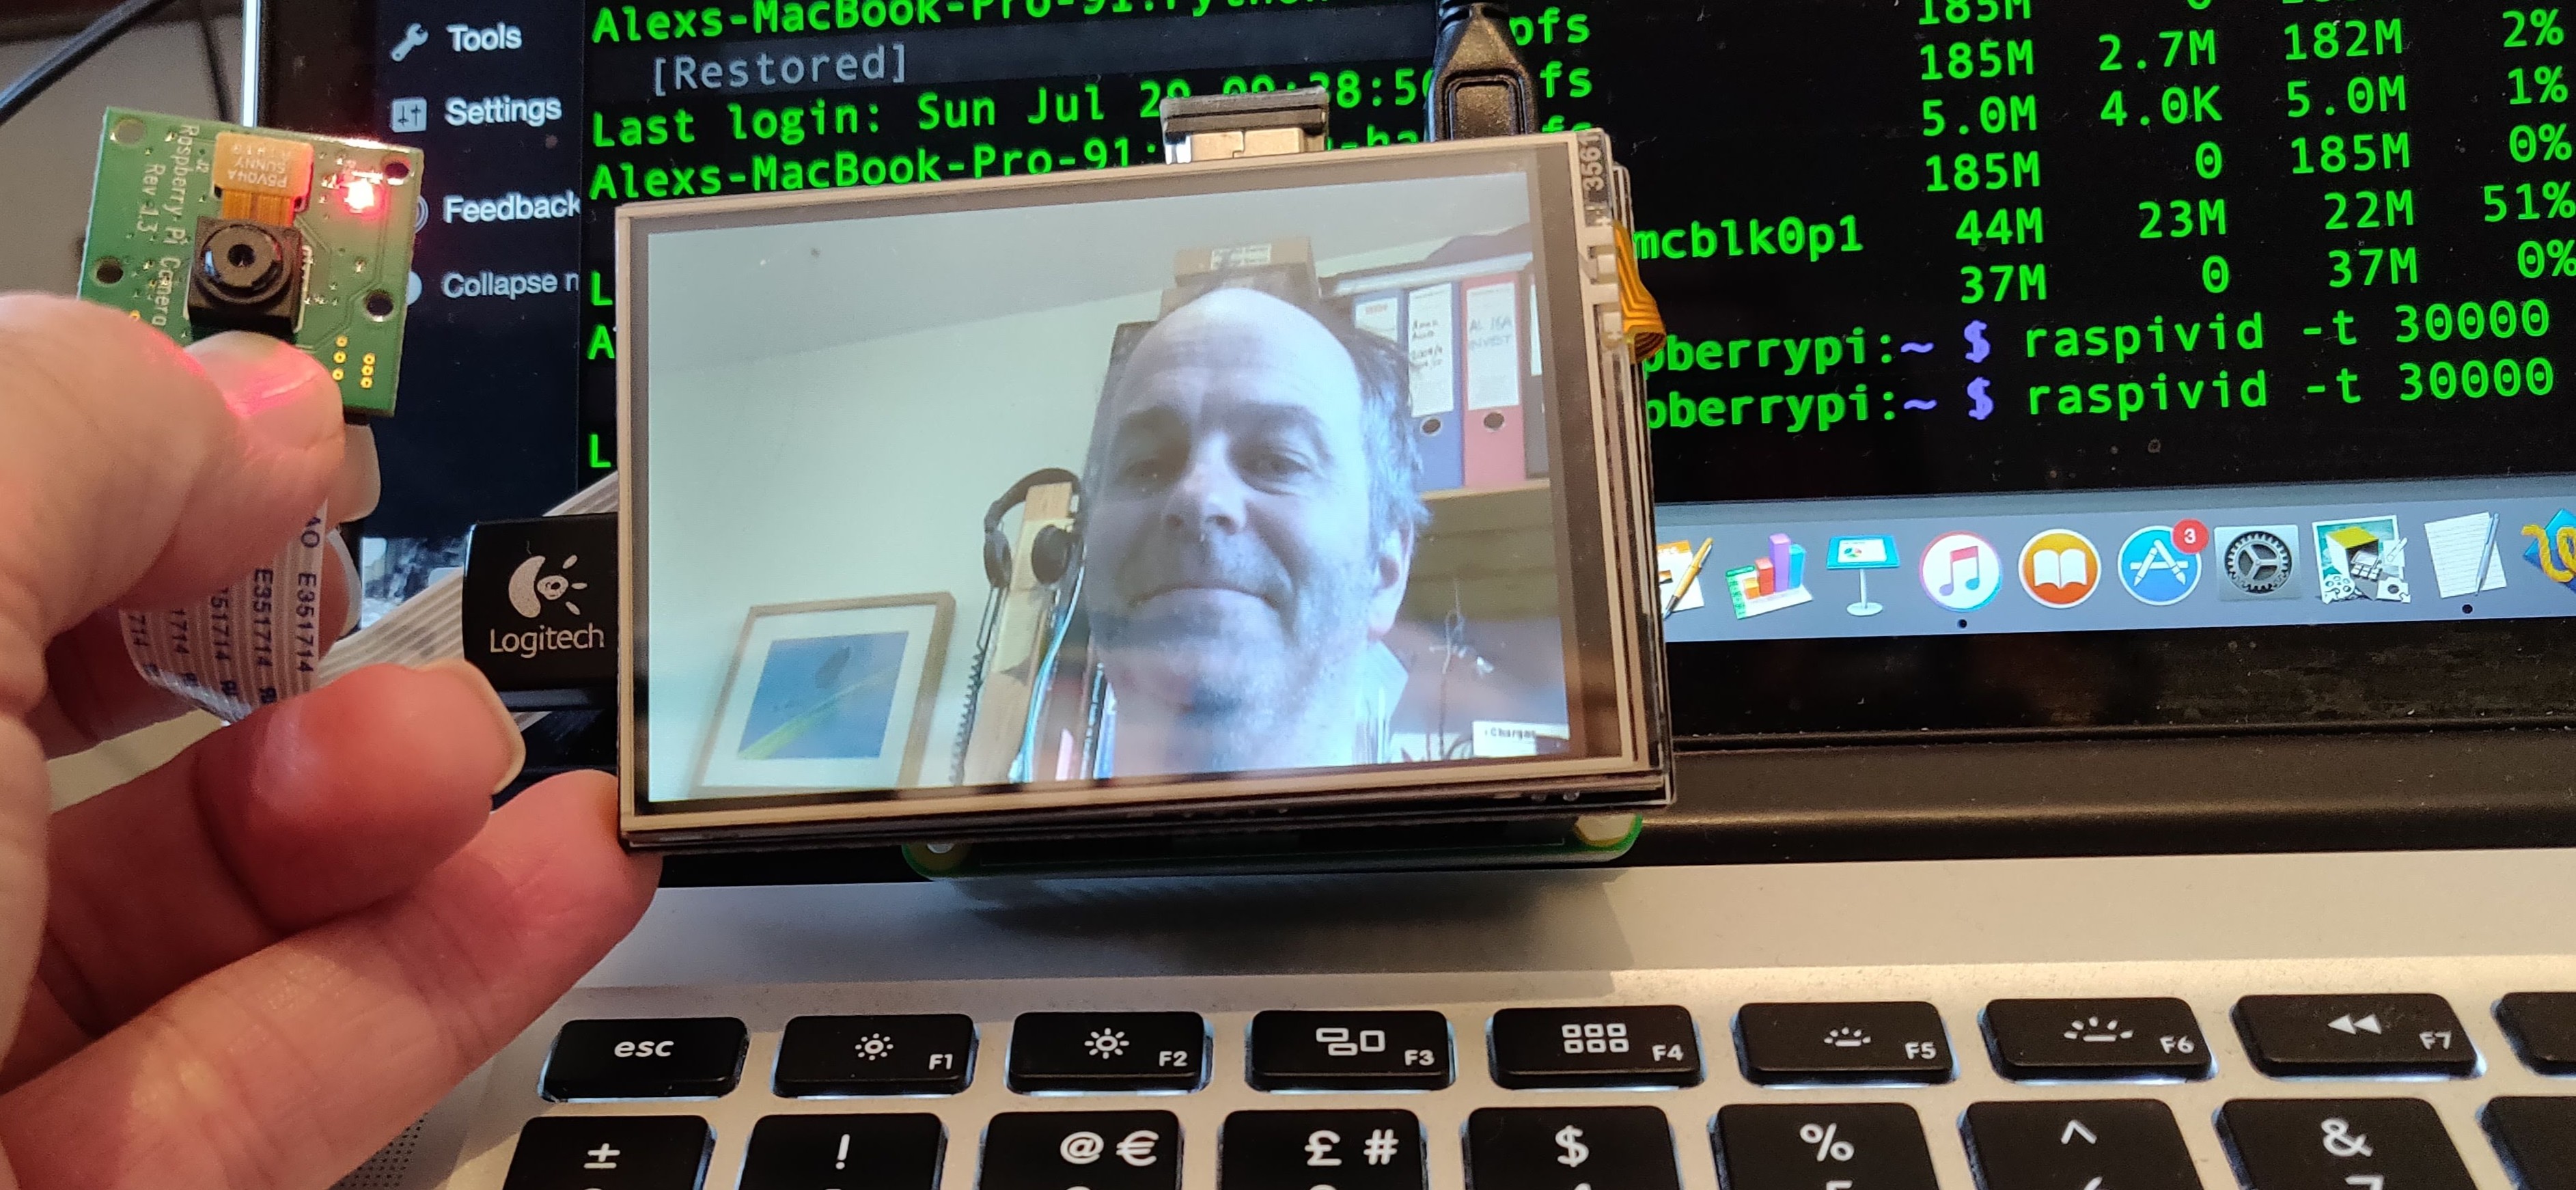
Streaming from Pi Zero W to Mac via Pi3A+ access point
It’s horribly slow at full resolution though, and even with low res there’s a few seconds of lag time :( boo! I don’t really want to see cars on the screen after they’ve gone past me. This will not DO!
And Then it Hit me. A Blinding Flash of Revelation.
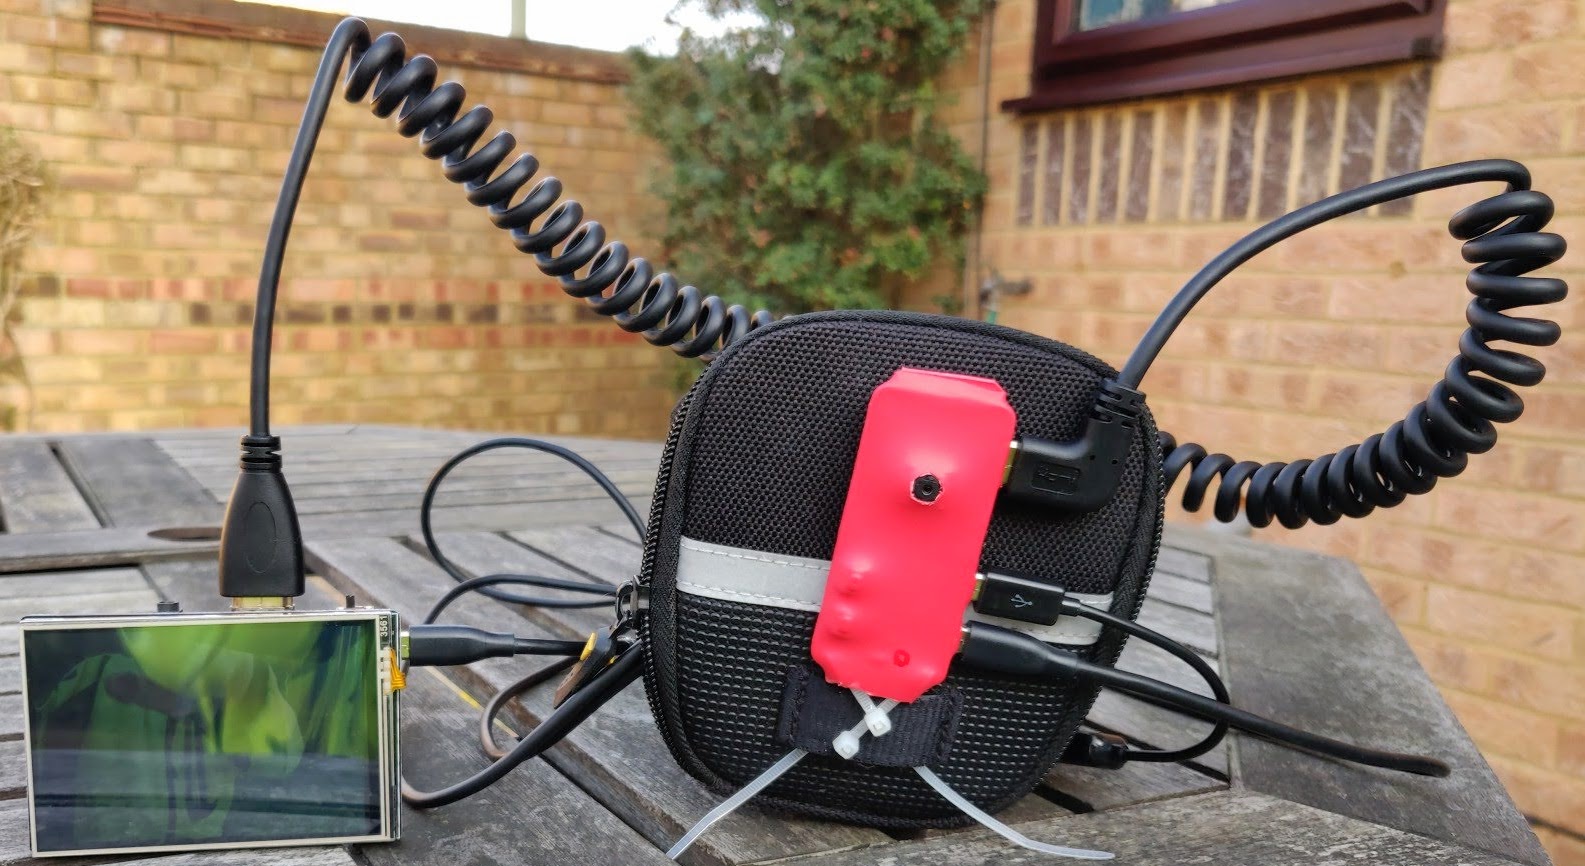
You don’t get ANY appreciable delay via HDMI. So why not hook up the screen directly to the rear Pi via HDMI? It could still sit on a Pi3A+ if required, but if we’re eliminating the streaming from the equation, we won’t need an access point either.
MAJOR CHANGE OF DIRECTION #1
So, just two Pi Zeros (don’t even need to be W) set up to auto record? It’ll probably be a good idea to have a button for shut-down/stop and restart recording? The cameras have a built-in red ‘record’ LED so we don’t need another one.
This will reduce the power requirements too (no 3A+ needed). But will probably nix the idea of using a nicer screen like the Pimoroni Hyperpixel. But, simple is good. I shall explore the HDMI option first as it should be the easiest, simplest and uses ‘kit’ I already have.
Engineering “Workings Out”
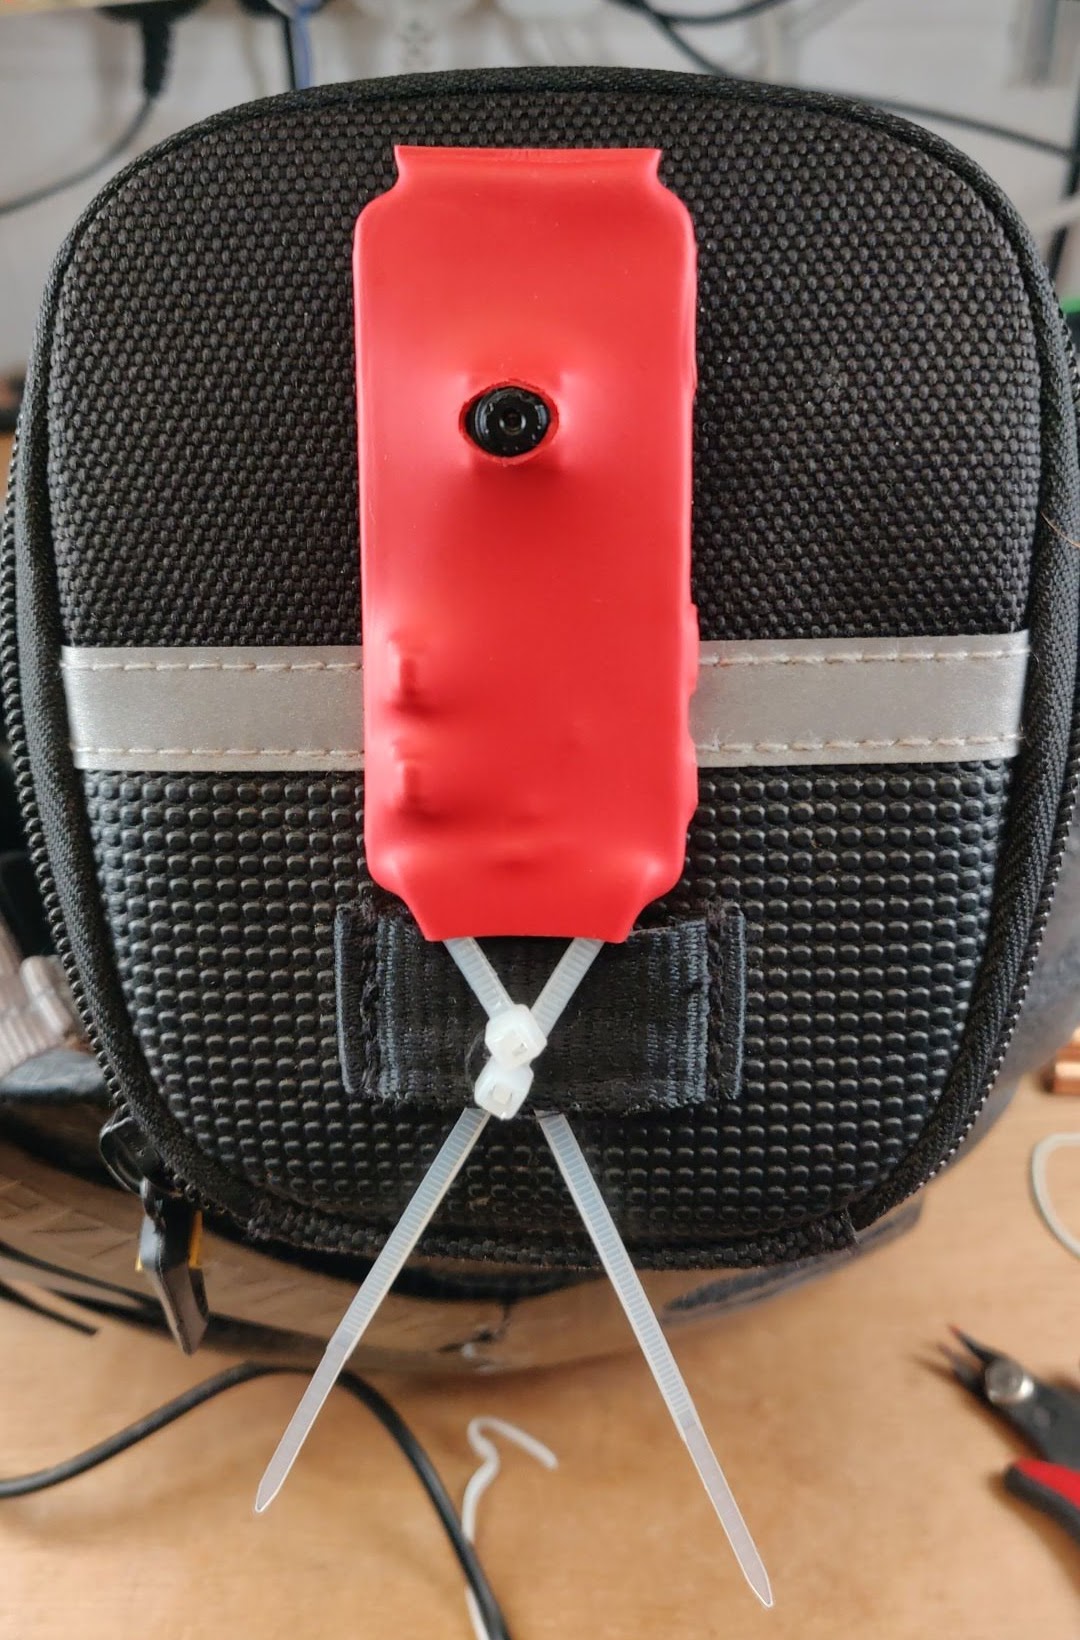
The rear camera will sit on the back of my saddle bag. I was going to do a custom case for it, but actually realised that heat-shrink would be much simpler and more ‘watertight’. It will have cutouts for the power and HDMI ports. It will help to hold the camera in place as well.
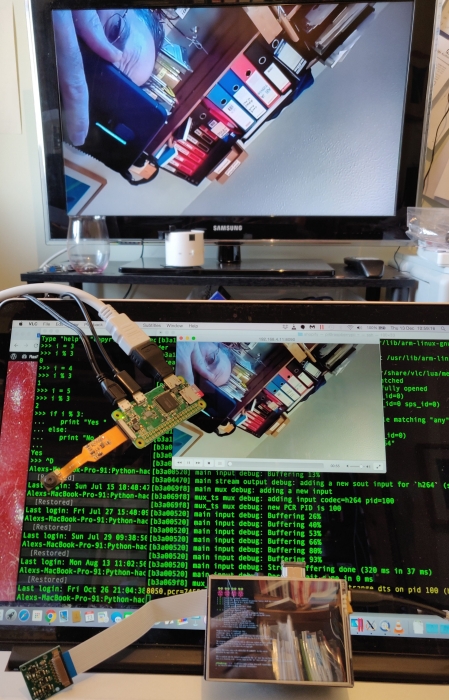
Small buttons wired directly grounding GPIO13 and GPIO6 on ‘press’
I’m putting a couple of small buttons directly on the Pi Zero W. One spans GND to GPIO13. The other spans GPIO6 to the next GND up. I’ll use software pullups on these ports. The buttons should be easily pressable through the heatshrink. I’m not sure if I’ll need more than one button, but it’s always good to have options. There’s room for several more, but two should be more than enough for now.
The mounting ‘plan’ is to use cable ties through the bottom two holes in the Pi. I might use a piece of velcro tape or even sew the top end to the saddlebag. We’ll see when we get there. Mini-HDMI to HDMI lead ideal length is about 1.2m. I’ll see if I can find a cable closer to the right length than the 2m one I have currently (but that will be adequate to see if the idea works out).
There Followed a Period of Workshopping
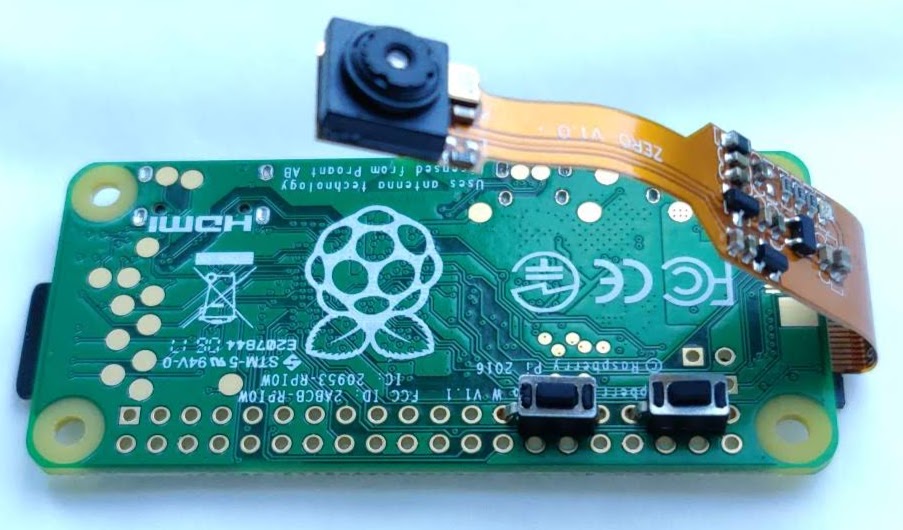
Rear-facing Pi Zero W camera on saddle bag
So that’s the rear camera’s hardware mostly sorted.
Now it’s Time to Work on the Software
Buttons are on GPIO13 (lower) and GPIO6 (upper)
I’m going to borrow code heavily from my RasPiCamcorder project. I was the first person to do a Raspberry Pi camcorder the week the Pi camera was released. I did three iterations in 2013, each got progressively better. This dashcam is going to be a bit different, but I’ll be able to reuse a lot of the code, particularly from RasPiCamcorder 2. The 3rd iteration was highly customised around the PiTFT screen, so going back to iteration 2 makes sense. Anyway here are links to each of those three blogs (also with videos)…
How to make a standalone camcorder from your Raspberry Pi and RasPiCam
RasPiCamCorder 2 – standalone raspberry pi camcorder with buttons, screen and DropBox capability
What Do We Want It To Do? Software Blueprint
It’s always a good idea to have some sort of plan before you start coding. Obviously it will change as we go.
On startup the script should run. Then it will wait for a button press. The top button (GPIO6) when GNDed will trigger an interrupt starting the recording sequence.
Recording sequence will start recording 1080p25 video for X minutes (probably 3-5) to a sequentially numbered file. This video output will also appear live on the HDMI screen on the handlebars. After X minutes, the recording will be stopped and a new file started. There may be a second or two of missed time in the overlap. Not sure exactly how long it takes, but shouldn’t be too bad.
The lower button will be used to…
- stop the recording (short press and check the screen)
- exit the program (longer press – useful in testing/debug)
- shut down the Pi safely (>3s press – used in the field where I won’t have a keyboard)
There will obviously need to be some ‘robustification’ – checking the spare space left in the file system and deleting older “lower sequence” numbers in turn to ensure the µSD card doesn’t get completely full and crash the Pi. We could have it grab the ntp date and time via a hotspot on my phone, but I really don’t want to do that. A real-time clock would do it, but even that is overkill at this point. Let’s just get something basic working. There’ll be plenty of scope to ‘complify’ it later on (feature-creep FTW). Oh! Hold on…
If using a Zero W and starting the ride from home, I can have it hook into local wifi and grab the time on boot. Easy, automatic and seamless. YAY.
Attaching Pi Zero W to Saddlebag
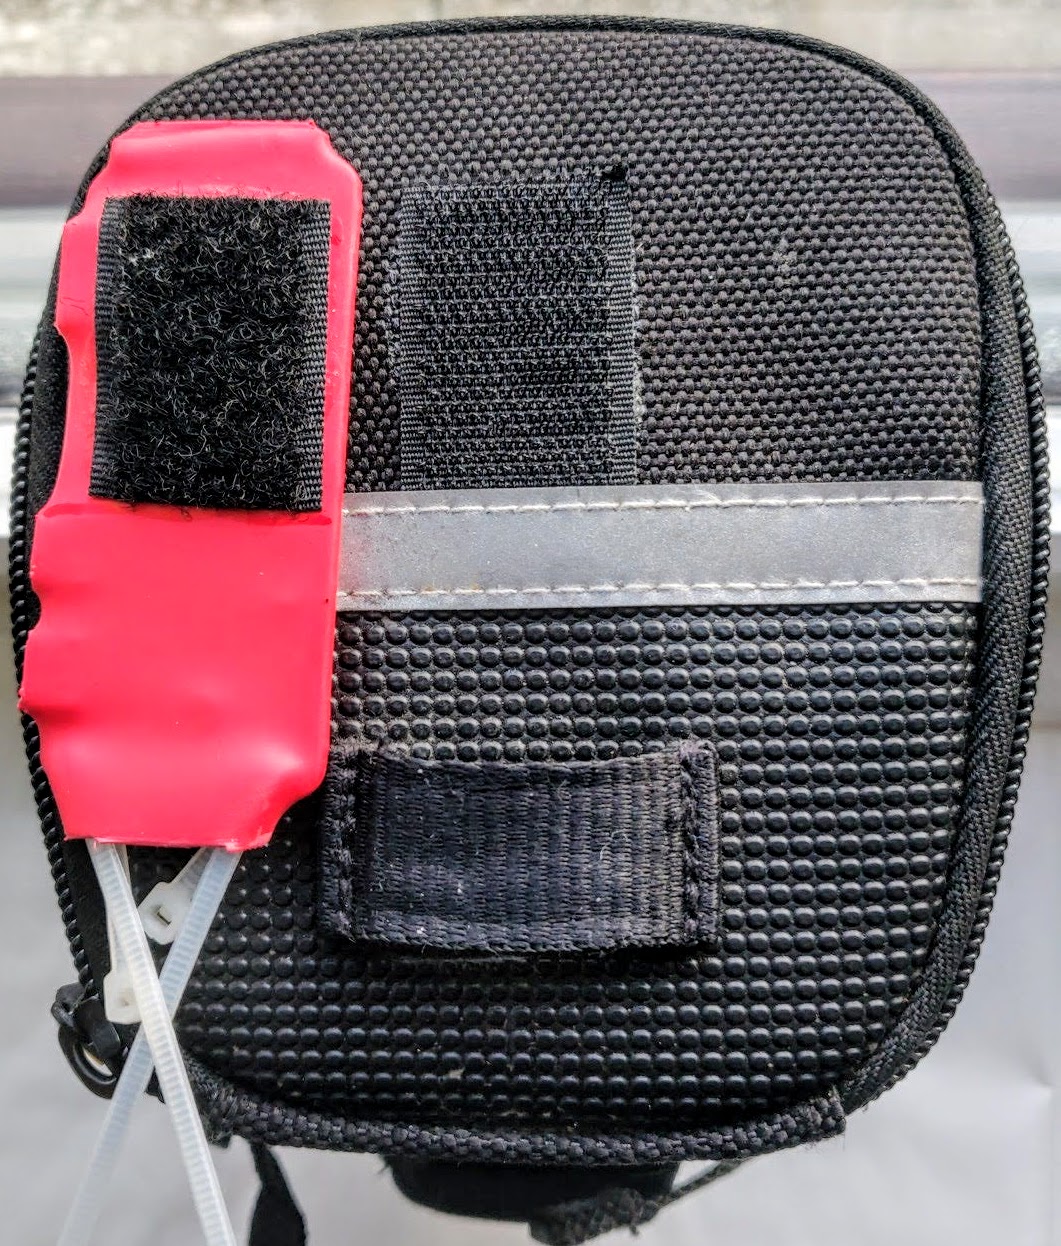
Velcro hook and loop glued on with UHU Por
I really wanted the camera to go here as it’s the best place for decent unobstructed footage/view. (I’m not sure how ‘bumpy’ it will be, but that’s a secondary issue.) It may be that, in use, I’ll need to figure out a way to alter the ’tilt’ or direction of the camera. But you have to start somewhere. (Yes I am making it up as I go along. That’s what “making” is an abbreviation for. Didn’t you know?)
Pi Zero W Recording Power Measurement
A quick test of the Pi Zero W recording video (and saving the file).
300 mA while recording 1080p25. This means the rear battery needs to be…
300 * 5/3.7 * 4 = 1620 mAh (single lithium cell) to last 4 hours. So my 2200 packs should be OK for this. But is there enough space on the µSD for 4 hours of video? Shouldn’t matter if we get our software right.
How to Delete the Oldest File in a Directory?
One of the things we have to get right is not trying to write video files to the µSD card when it’s full or nearly full. So I wanted a way to be able to delete the oldest file in a directory. So I googled “how to delete the oldest file in a directory” and found this genius bit of bash code on stack exchange, which will delete the ‘oldest file in a directory’…
stat --printf='%Y %n\0' * | sort -z | sed -zn '1s/[^ ]\{1,\} //p' | xargs -0 rm
…which only needed changing to apply it only to our .h264 video output files…
stat --printf='%Y %n\0' *.h264 | sort -z | sed -zn '1s/[^ ]\{1,\} //p' | xargs -0 rm
It’s a brilliant bash one-liner. How it works is fully explained in the answer to the query on Stack Exchange.
I shall be incorporating this into the Python script, probably calling it as a separate bash script.
That’s pretty-much where I got to after spending most of the day on it. I hacked the old picamcorder2.py script just enough to make it work with my buttons and the screen.
Still plenty of setup and polishing to go to make it fit the blueprint, but we have proof of concept. The idea is a ‘goer’.
Boo – I Don’t Like My Screen
Outside, the touch overlay on the screen makes it a bit ‘ghost imagey’ and reflecty. I don’t like that, so might see if I can remove it. Or I might look for other screen options.
It’s a goer – proof of concept.
Tomorrow I will do more on the software and hopefully might actually get it onto the bike for a trial run. Will have to figure out a way to mount the screen and route the HDMI lead.
Looking good so far Alex, it’s interesting to read about a “work in progress” project, rather than a “finished project” :-)
I wonder if polarised glasses might help with the screen glare / reflections?
If the video files are being numbered sequentially, I wonder if it might be more reliable to delete the lowest-numbered file, instead of deleting the oldest-dated file? (just in case your time-syncing isn’t 100% reliable)
Just had another idea – maybe you could press the (currently unused) other button when you get back home after your bike-ride, and have the Pi then connect to your home wifi again, and upload the video files it’d recorded to your home NAS?
Neat idea with the small buttons soldered directly to the GPIO holes :) And it’s cool that the PiZero is small enough that the whole thing can be encapsulated in heat-shrink.
Interesting point about dates but realistically the SD card will fill in a bit over an hour, so I’d not expect that to be a problem since the newest files will always be the current session. Even without RTC or ntp the dates don’t go backwards from session to session.
I love your WiFi upload idea. That would be way cool. Need to get the essentials up and running first though.
Ref the screen, I have another option I’m going to try first which will be in the next episode 😀
“realistically the SD card will fill in a bit over an hour”
Hmmm, I wonder if (in the spirit of “evidence collection”) you could have a button on your handlebar which you could press when there’s an “event”, which would then notify the Pis to (somehow) not delete the file that’s currently being recorded? (e.g. move it to a different folder when it’s finished its recording). I *think* you might be able to use opto-isolators to have a single button connected to both Pis?
But yeah, something else for later.
“I have another option I’m going to try first”
Google Glass? ;-)
Actually something helmet mounted would be ideal from a usability perspective, but then you get into thinking about what happens to all those bits of metal, glass and plastic if you fall of or have an accident. It’s the reason I won’t put lights on my bike helmet. It’s the alternative meaning of embedded electronics.
LOL, I saw a documentary about that last year… ;-)
Good work Alex! Commiserations about the cameras. I’m looking forward to the next installment.
I’d have been upset (but probably less careless) if they’d have been the expensive official cameras. Part of the appeal of using these smaller ones is the size, but you can’t argue with the price either (I bought 10 wholesale to evaluate as possible shop items).
Still, I rarely break things, so two in one day is pretty dumb.
Good project :-) I am also looking at the idea of a screen and camera rather than a simple mirror for my bike and was going down the modified dashcam route but might now change tack.
Any thoughts on adding an accelerometer to autosave the most recent footage if the unfortunate happens?
I think it’s a great idea to add an accelerometer. It’s another one to add to the
feature-creep listwish-list for once all the basics are in action.Oooh! Another cool use of an accelerometer could be to detect if the bike is stationary for 5 minutes, use this to assume that you’ve finished your bike-ride, and then auto shutdown the Pis to save battery power :-) (and prevent SD corruption)
LIKE!
Hi Alex
I see you used heat shrink tubing to cover the pizerow. Be interested in the source of it. There are so many varieties and it would be good to know what you used as it looks like it works well.
Hi Robin I think I got that from CPC
Hey Alex, have you thought about flipping the rear camera footage horizontally. I was just wondering if viewing the rear camera footage as you are riding, wouldn’t correlate with what your brain is expecting to see what it would see in a rear view mirror, might be confusing in an emergency.
Hi George. Yes you’re right. I had that realisation almost as soon as I put the screen on the bike and started it up. It’s mentioned in part 3. All I had to so was add -hf to the raspivid command