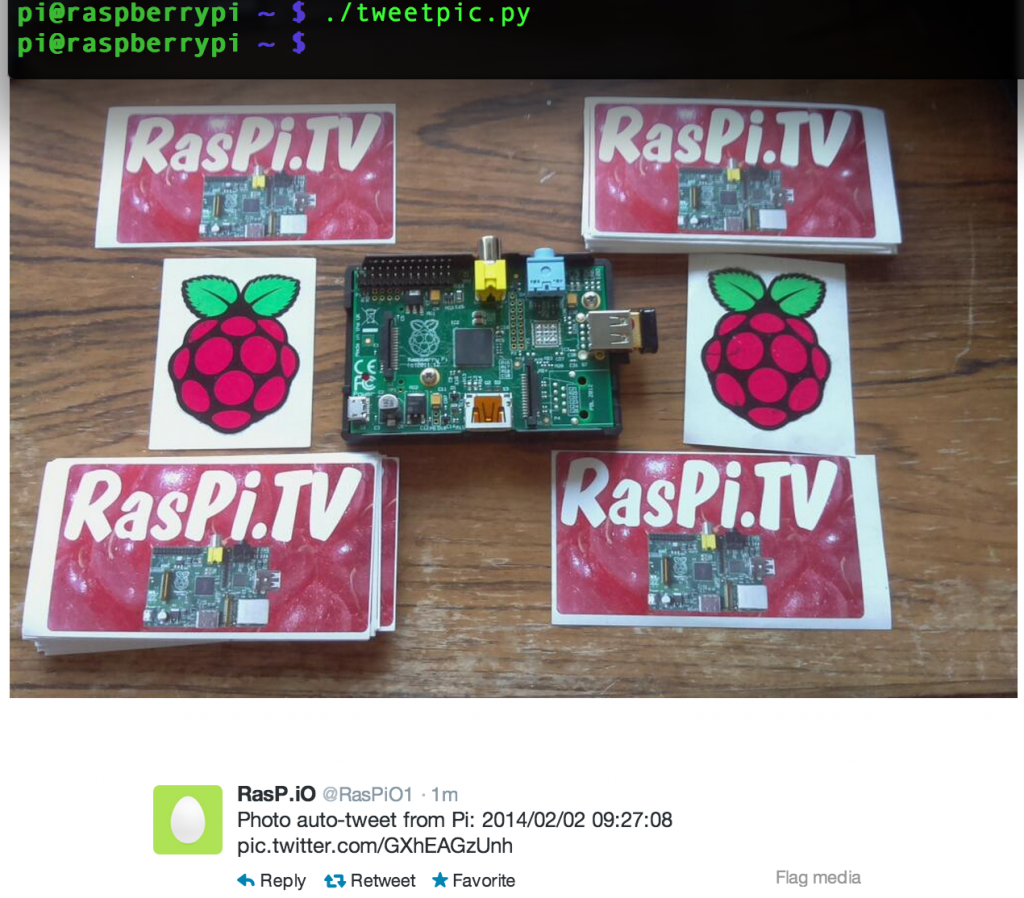
Today it gets a bit more exciting. We’re going to take a photo with the Raspberry Pi camera and tweet it.
Previously in the series we’ve covered how to: read twitter follower data in from your twitter account and pick one at random; make a simple text tweet at the command line, with a default tweet; tweet system information, like date and temperature.
These are basic building blocks for manipulating a twitter account from your Raspberry Pi. So what do we need to know about tweeting photos?
File Size Limits
The maximum photo file size you can upload to a tweet is 3Mb. This is plenty for the kind of photos I’m thinking about. I’m going to use 1024 x 768 pixels, which is adequate resolution for twitter. It’s a lot less than the Pi camera is capable of, but you can tweak it in your script if you want to use the full 3Mb allowance.
Tweepy Documentation Sucks
Unfortunately, although tweepy is quite a good Python library, its documentation is rather out of date. I had no idea how to tweet a photo, but last week I happened across a post by Dougie Lawson on the Raspberry Pi Forums (Python section). This gave me most of what I needed to be able to tweet a photo.
One key part is the update_with_media() function.
But there was still one more piece of the puzzle I needed to find for myself. I couldn’t get Dougie’s code to work, and then I had a brainwave…
“I wonder if there’s an updated version of tweepy?” So I tried it…
sudo pip install tweepy --upgrade
…and then the photo upload code worked after updating tweepy from 2.1 to 2.2. (2.1 was current in October 2013.) So, with proof of concept achieved…
Let’s Write Some Code
Here’s a little walk-through of the code. Lines…
4-6 pull in the required libraries
5 gives us access to the call function from the subprocess library. This enables us to run an external command from the program exactly as if we were typing it at the command line.
8-9 create and format a time stamp for the photo filename
10 adds .jpg to the filename
11 builds the command that we’re going to use to take the photo
12 uses call to run the command we built in 11
14-25 are the same as before – handle the twitter authentication/interface
28 sets the location that tweepy will look for the photo to upload
29 assembles the tweet text, using time and date from line 8 (with / and : separators for date & time)
30 sends the tweet with text from 29 and the photo it took in line 12
#!/usr/bin/env python2.7
# tweetpic.py take a photo with the Pi camera and tweet it
# by Alex Eames https://raspi.tv/?p=5918
import tweepy
from subprocess import call
from datetime import datetime

i = datetime.now()               #take time and date for filename
now = i.strftime('%Y%m%d-%H%M%S')
photo_name = now + '.jpg'
cmd = 'raspistill -t 500 -w 1024 -h 768 -o /home/pi/' + photo_name
call ([cmd], shell=True)         #shoot the photo

# Consumer keys and access tokens, used for OAuth
consumer_key = 'copy your consumer key here'
consumer_secret = 'copy your consumer secret here'
access_token = 'copy your access token here'
access_token_secret = 'copy your access token secret here'

# OAuth process, using the keys and tokens
auth = tweepy.OAuthHandler(consumer_key, consumer_secret)
auth.set_access_token(access_token, access_token_secret)

# Creation of the actual interface, using authentication
api = tweepy.API(auth)

# Send the tweet with photo
photo_path = '/home/pi/' + photo_name
status = 'Photo auto-tweet from Pi: ' + i.strftime('%Y/%m/%d %H:%M:%S')
api.update_with_media(photo_path, status=status)
And the Results?
./tweetpic.py while trying to hold the camera steady, gave this…
The above is a composite screenshot. If you want to see the tweet, here it is on Twitter
Homework
The above code is merely the most basic code you need to tweet a photo. There is no…
- error checking,
- try/except,
- cleaning up of .jpg files after tweeting.
- command line entry of tweet text
For ‘homework’ I suggest you add some or all of these features.
You could even have it do a scheduled photo tweet, either using cron to run the program at intervals of your choice, or sleep to run it constantly and activate at timed intervals.
Have fun tweeting photos, tweaking and experimenting. In the next part we are going to get slightly more sophisticated in what we do with the photos. (It’s pretty cool actually. This was on show at the Cambridge Raspberry Jam yesterday.)

[…] Eames’ Raspberry Pi using Tweepy to tweet pics of the Jam – a blog post on how he did it, a blog post with some of the photos he took and the Twitter account to which he sends the […]
Nice use of the Raspberry PI Web cam. I got my nosey twitter app running on my PI so I can see whats tweeting in my GPS area http://80.229.21.163